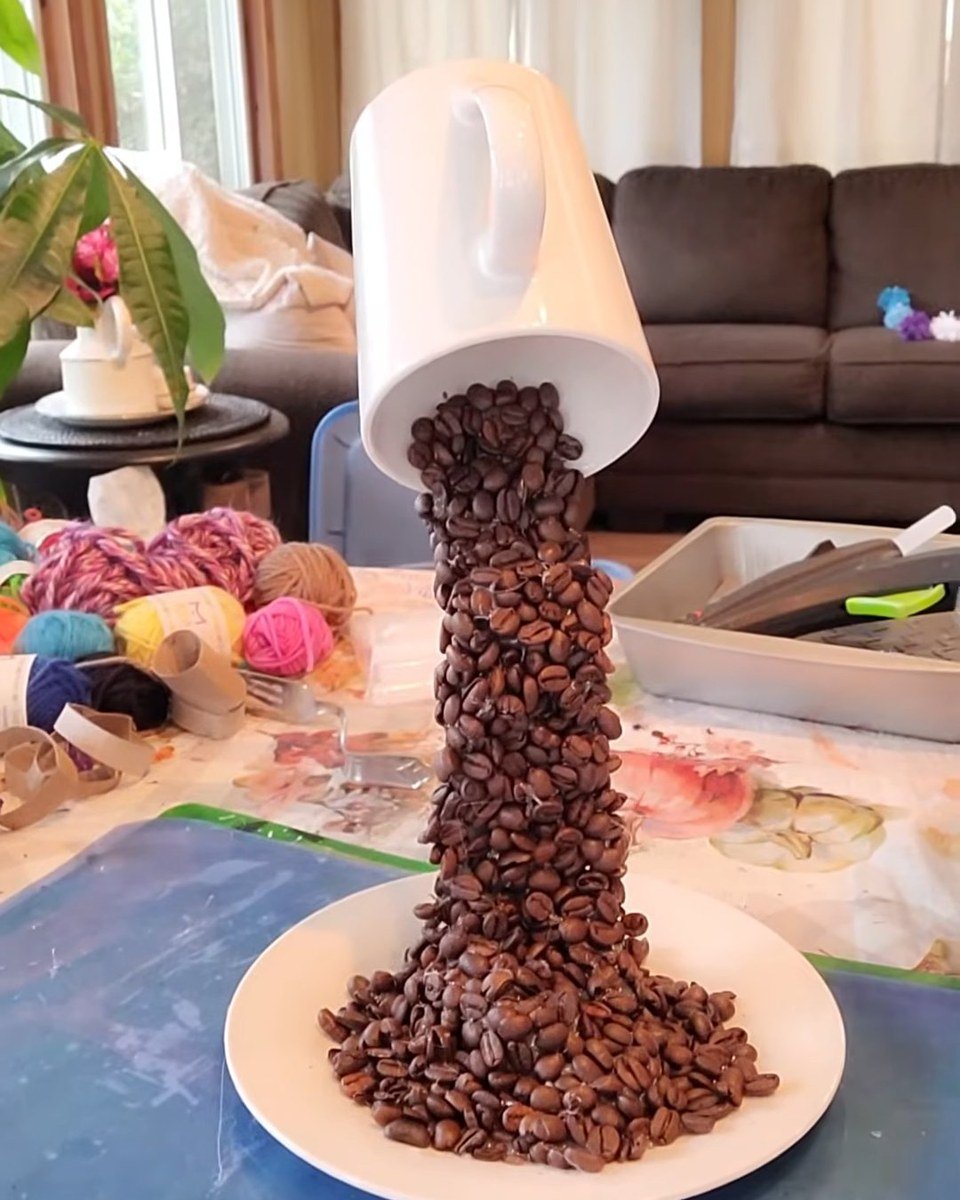
Dollar Tree Teacup Decor DIY, 16 Easy Steps for You
This Dollar Tree teacup decor DIY turns a plain white cup, a saucer and a bag of coffee beans into a cup that looks as if it is floating and pouring a stream of beans onto the plate. It is a glue-and-patience project: nothing is cut, sewn or painted, and the trick is a bent fork hidden under the beans. Budget roughly $27 to $80 if you buy everything new, and far less if the glue gun, the adhesive and a spare cup and plate are already in the house.
The method is simple to describe and slow to do. A fork is glued to a saucer, a cup is glued to the fork, a ribbon of zigzag hot glue joins the two, and layer after layer of coffee beans is pressed into more hot glue until the fork and the glue disappear. Below are the supplies with price ranges, every step with a photo, the snags that catch most people, and the heat and fume safety that matters with this much hot glue.
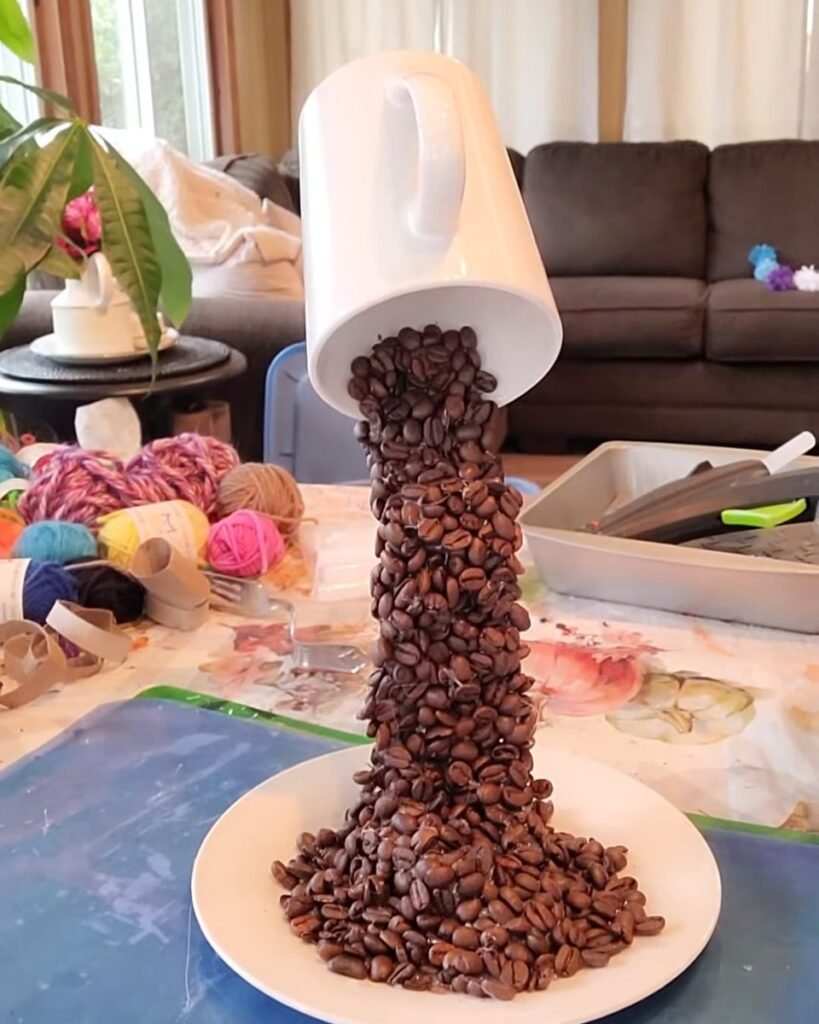
Table of Contents
Quick Facts Before You Start
| What | Answer |
|---|---|
| What you make | One floating cup display: cup, saucer, bent fork, glue ribbon and a cascade of whole coffee beans |
| Cost | About $27 to $80 buying everything new (prices checked October 2026); much less if you already own the glue gun, adhesive and dishes |
| Active time | Several sittings (our estimate; the original project gives no clock times, only overnight waits and about six glue sticks used by the 85 to 90 percent stage) |
| Waiting time | Two overnight waits: one after gluing the fork to the saucer, one after gluing the cup to the fork |
| Difficulty | Easy steps, but messy: plenty of hot glue, quick hands and a fork that may refuse to bend |
| Renter-safe | Yes, it sits on a desk or shelf and does not touch the wall |
| Best for | A desk, kitchen shelf or coffee station; decorative only, not for drinking from |
One honest note: the original project does not give a cost, glue-gun settings, an exact number of beans or a sealing step, so those parts below are labelled as our recommendations rather than part of the project.
Materials and Tools for Dollar Tree Teacup Decor DIY
Everything here is ordinary craft, kitchen or grocery supply. Prices are typical US ranges at large retailers in 2026 and vary by store, brand and pack size. Dollar Tree lists several of these supplies on its site (mugs and plates at about $1.50, three forks for $1.25, hot glue sticks at $1.25 and small bags of river rocks at about $1.75), but we did not find E6000, glue guns, finger protectors or whole coffee beans there, so plan a second stop. Online listings often carry case minimums, so check your local store.
| Item | Amount | Price range | Budget swap |
|---|---|---|---|
| Cup or mug (white shows the beans best) | 1 | $1.50 for a mug at Dollar Tree; $5 to $10 for a plain cup with saucer at Target | Any cup or container you do not need, from a thrift shop |
| Saucer or plate with a flat middle | 1 (the “landing pad”) | $1.50 for a plate at Dollar Tree, or included in a $5 to $10 cup and saucer set | A dinner plate or any flat dish |
| Metal fork | 1, or 2 if yours will not bend | $1.25 for a 3-pack at Dollar Tree; $1.50 to $3 per fork at Target | A fork from a thrift shop or spare drawer |
| E6000 adhesive | 1 small tube | About $4 to $9 for a 1 oz tube | Another strong clear adhesive that bonds ceramic to metal |
| Hot glue gun | 1 | About $4 to $18; budget mini guns sit at the low end | A mini gun works; high-temp gives a stronger grip |
| Hot glue sticks | A lot: about 6 sticks used even before the project was finished | $1.25 for 5 to 20 mini sticks at Dollar Tree, or $4.50 to $9 for a 24 to 50 stick pack elsewhere; the stick width must match your gun | Buy the bulk pack, not single sticks |
| Whole coffee beans | One bag (the amount is not stated in the project) | About $8.50 to $13 for a 12 oz bag | Cheap whole beans, since they are only for show |
| Silicone finger protectors | 1 set | About $3 to $9 for a pack of 5 to 15 | Silicone thimbles or a hot glue finger guard |
| Pebbles or small rocks | A small handful | About $1.75 to $9 for a small bag; free from the garden | Stones from the garden, washed and dried |
| Smooth mat or tray, and a bowl | 1 each | Free | Parchment-lined board and any bowl to catch stray beans |
Home Decor Beauty is not affiliated with, sponsored by or endorsed by Dollar Tree. The store is named only because this project is built from inexpensive everyday supplies of the kind it sells; stock, prices and case minimums vary by store.
How to Make a Floating Coffee Cup, Step by Step
Step 1: Decide on one fork or two
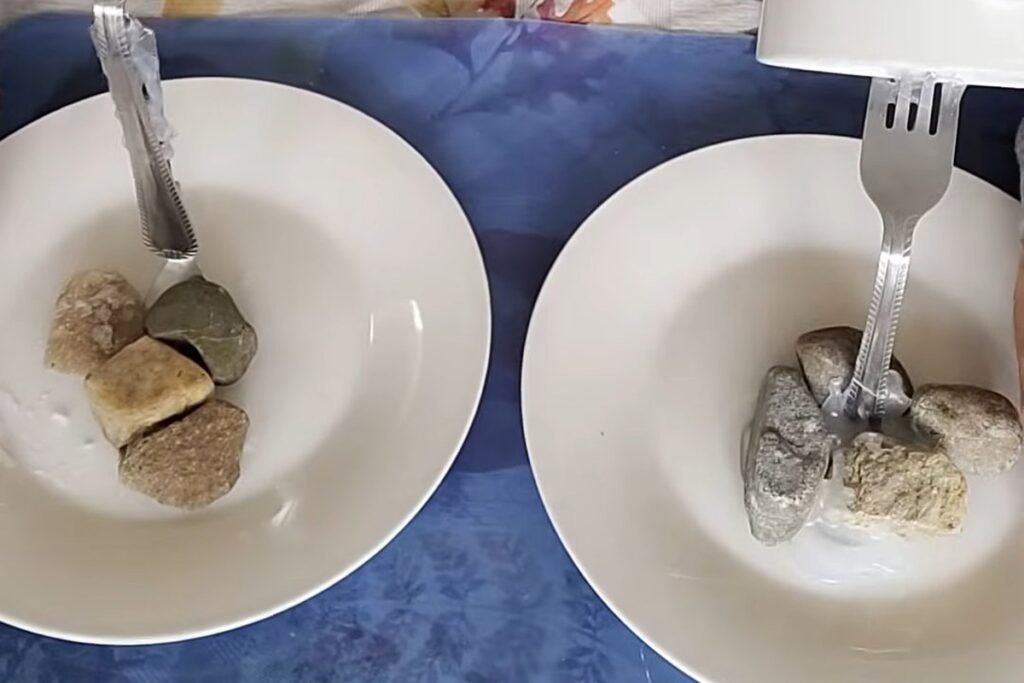
This Dollar Tree teacup decor DIY comes in two builds. The first uses one fork bent into a Z so the cup sits close to the plate. The second uses two forks side by side, because the maker could not bend the handles of her forks and did not want to ruin more of them. The two-fork version stands taller and is sturdier, but it takes up more room on a desk. The project’s own advice: if your fork will bend, use one fork. Forks vary a lot, and some are too stiff while others bend too easily, so the right choice depends on the fork in your drawer.
Step 2: Protect your fingers
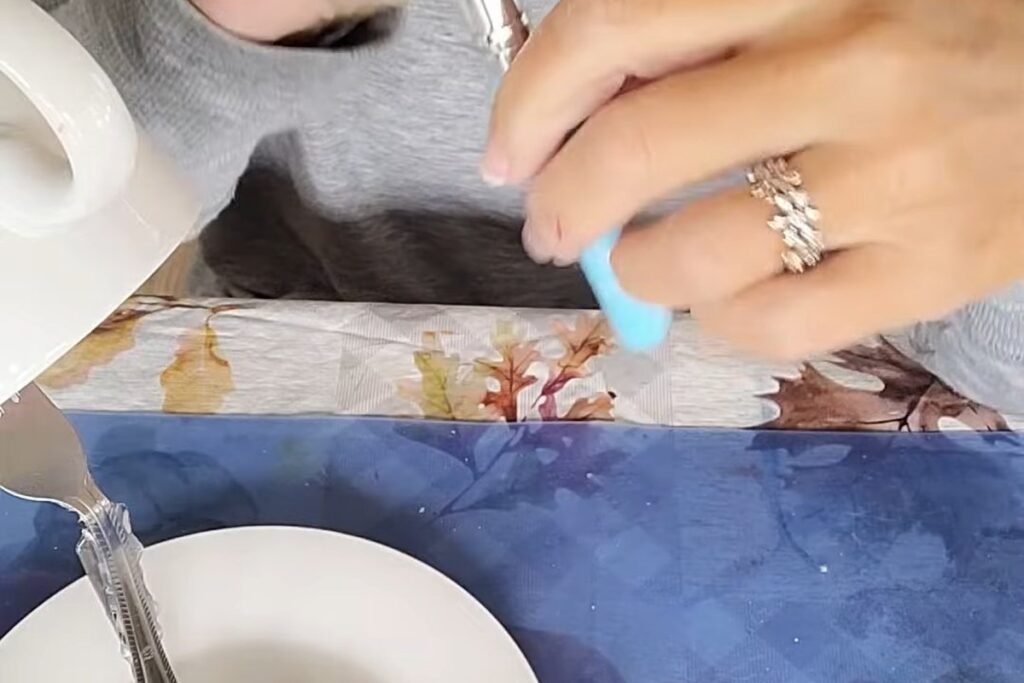
Slip on silicone finger protectors before anything else. The project warns plainly that you will burn your fingers without them, and that is a fair warning for something with this much hot glue.
Step 3: Bend the fork
Bend the fork so two of the prongs point up and two point down. The upper pair ends up inside the cup, the lower pair sits outside it, and the flat part of the fork is the piece that gets glued down onto the plate. Forks that bend too easily flop and forks that will not bend at all lead to the two-fork build in step 1.
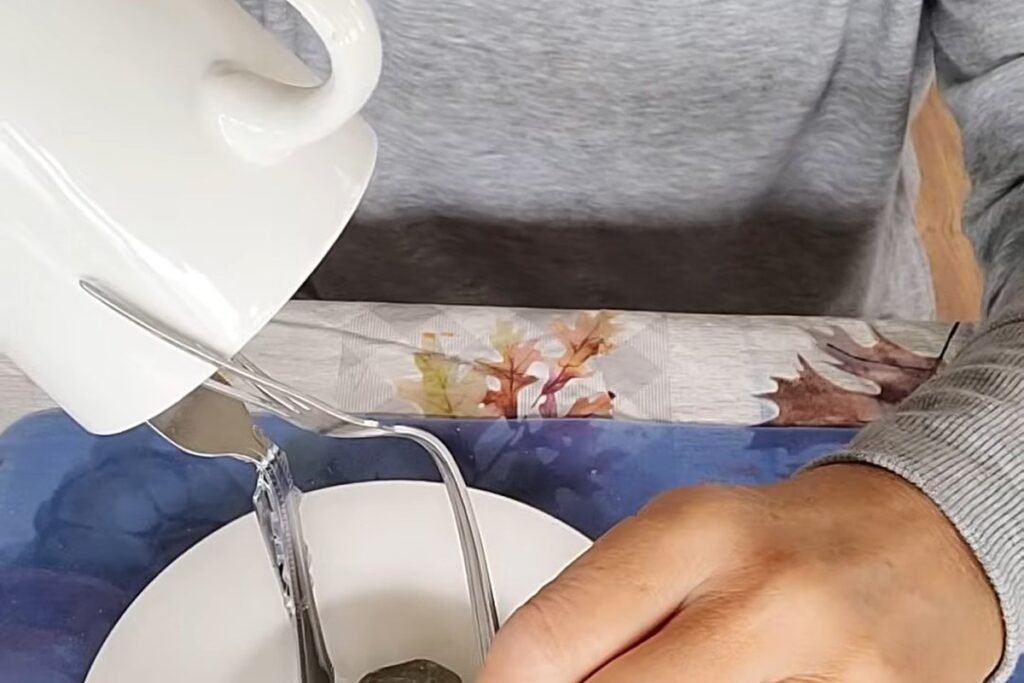
Step 4: Glue the fork to the saucer and add pebbles
Glue the flat end of the fork onto the plate with E6000 and hot glue together. Then let it sit overnight; the maker says this is the part of the project that takes a while. Garden pebbles are glued around the base to steady the fork further. They will be covered later, so use whatever stones you have. The project does not say how many pebbles or how much glue it used, so judge by the wobble test: when the fork stands firm without help, move on.
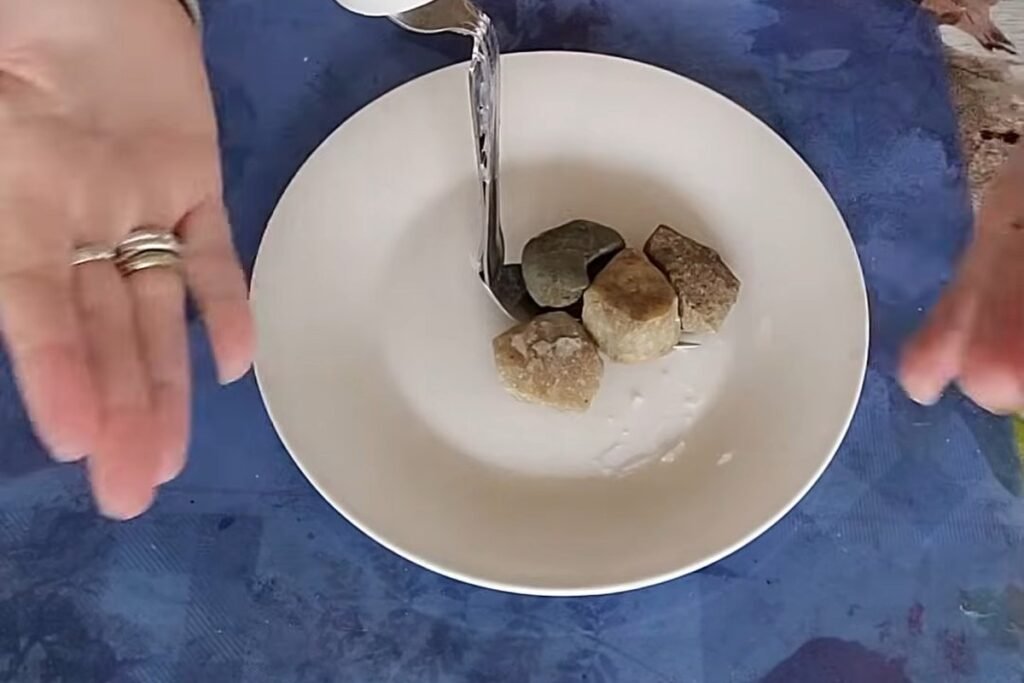
Step 5: Glue the cup onto the fork
Put E6000 and hot glue on the cup, join both sides of the fork to it, and then set the cup in place. The maker held the cup up overnight with her bag of coffee beans while the glue set. Any weighted object works as long as it keeps the cup at the angle you want. E6000 is slow to cure, so do not move the piece until the next day.
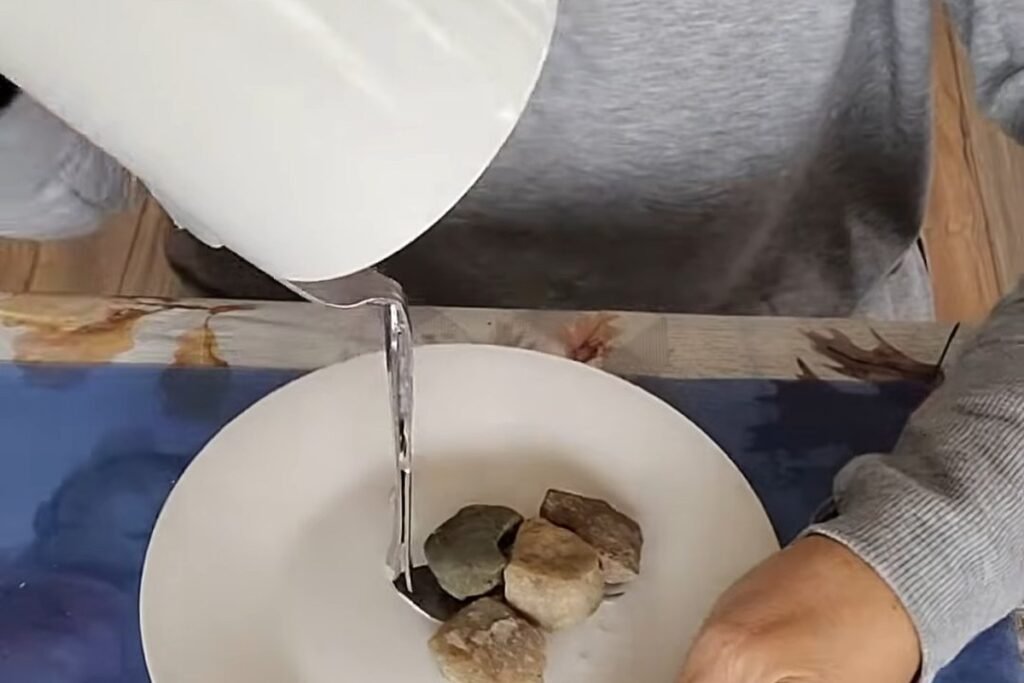
Step 6: Check the fork reaches the cup
Once the glue holds, check that the cup is firmly attached before any beans go on. Anything that will be covered, such as the top of the fork, can be steadied with more glue or stones, because it will not show. Some makers build rocks up around the base so the stream looks like a waterfall running into a pond.
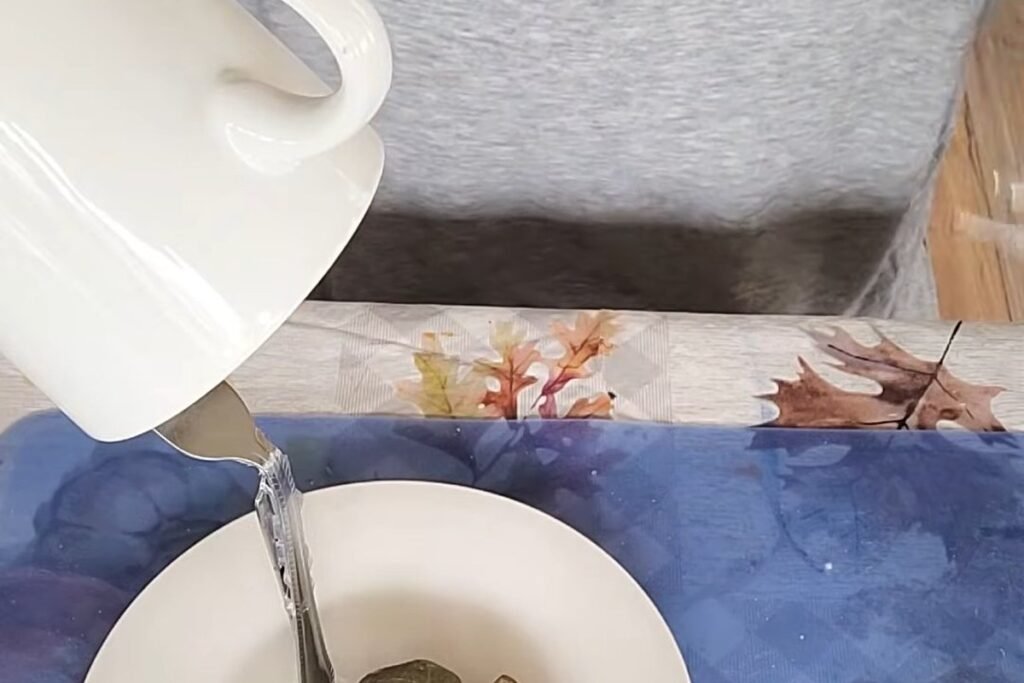
Step 7: Make the zigzag glue ribbon
Measure from the top of the fork down to the plate so the glue ribbon will puddle at the bottom, then make the ribbon on a smooth mat. Draw it with hot glue in a zigzag, back and forth along its length. The ribbon is a long one for this project, and you will refill the glue gun again and again.
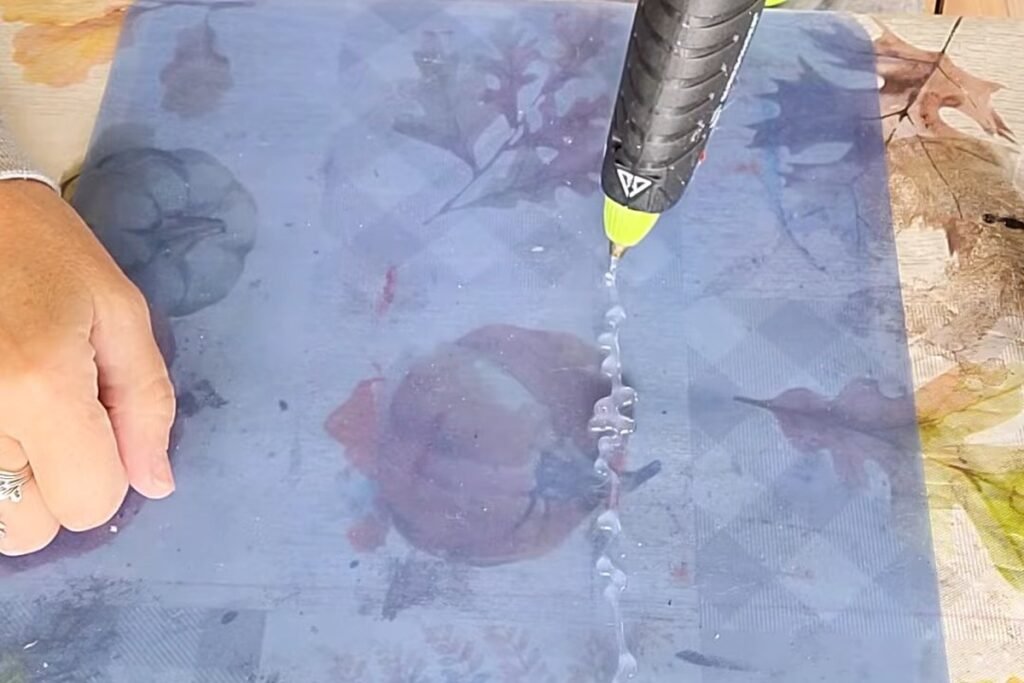
Step 8: Widen the ribbon
Keep adding zigzag lines next to each other until the ribbon is about an inch and a half wide. The lines should touch, though they need not be fully joined, since the ribbon is meant to look like trickling water. It will be hidden under the beans, so it is a base more than a decoration.
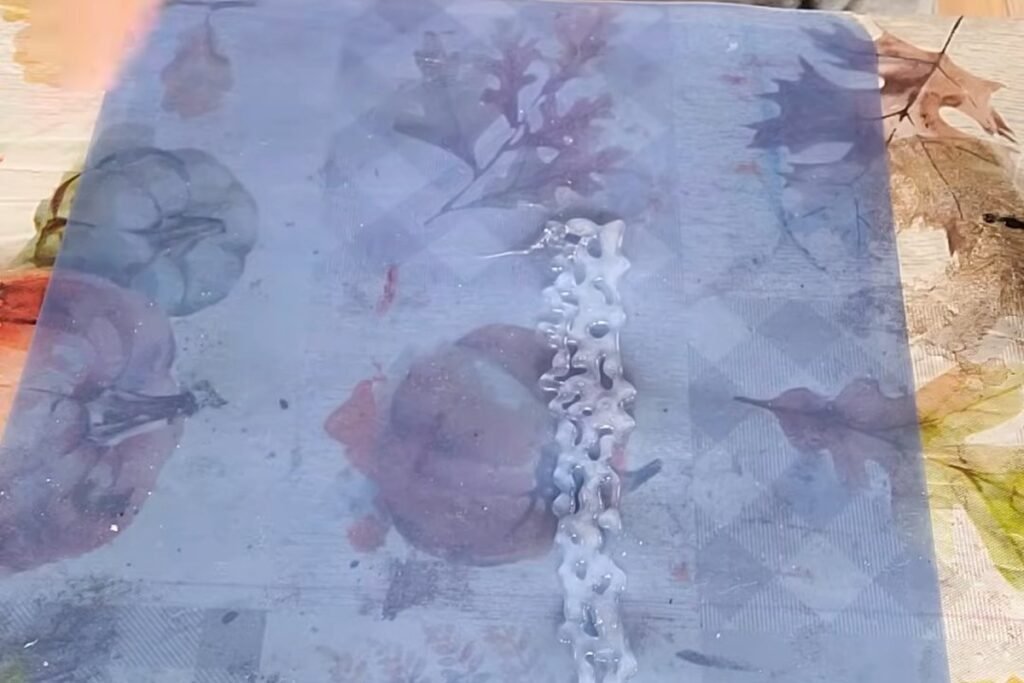
Step 9: Lift the glue ribbon
Once the glue has cooled and set, peel the ribbon off the mat. The maker describes the result as little river falls: a lacy strip with plenty of holes for the beans to grip. Every Dollar Tree teacup decor DIY of this kind needs this base.
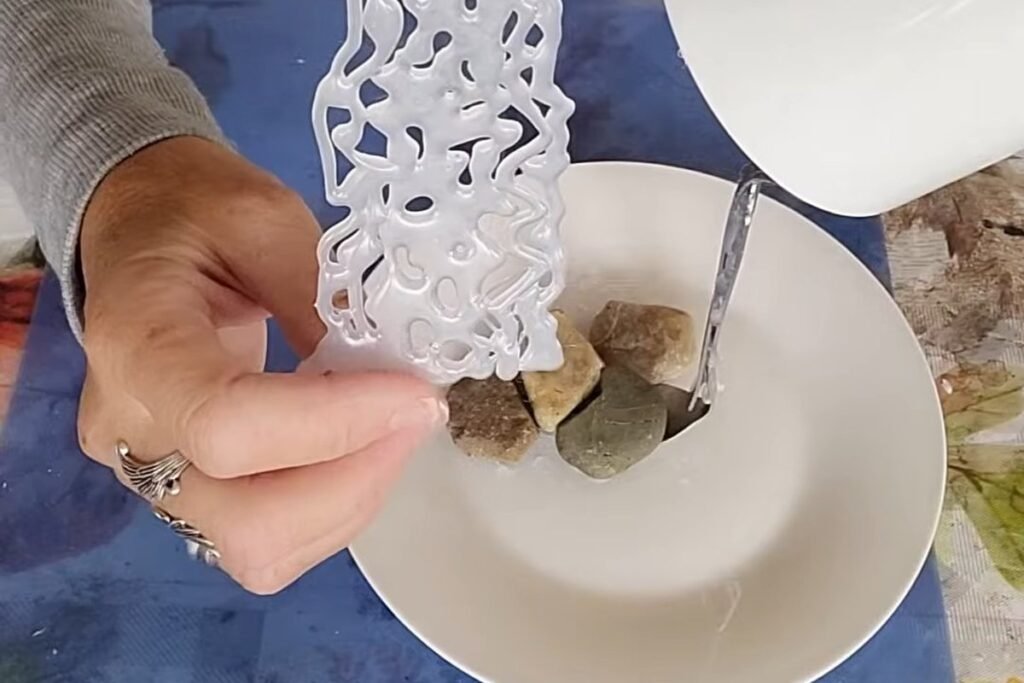
Step 10: Attach the ribbon from cup to plate
Fix the ribbon at the cup first and run it down to the saucer, using more hot glue. Move quickly: hot glue melts the glue that is already there, so slow work turns into a mess. If a section sags, hold it for a few seconds while the new glue cools.
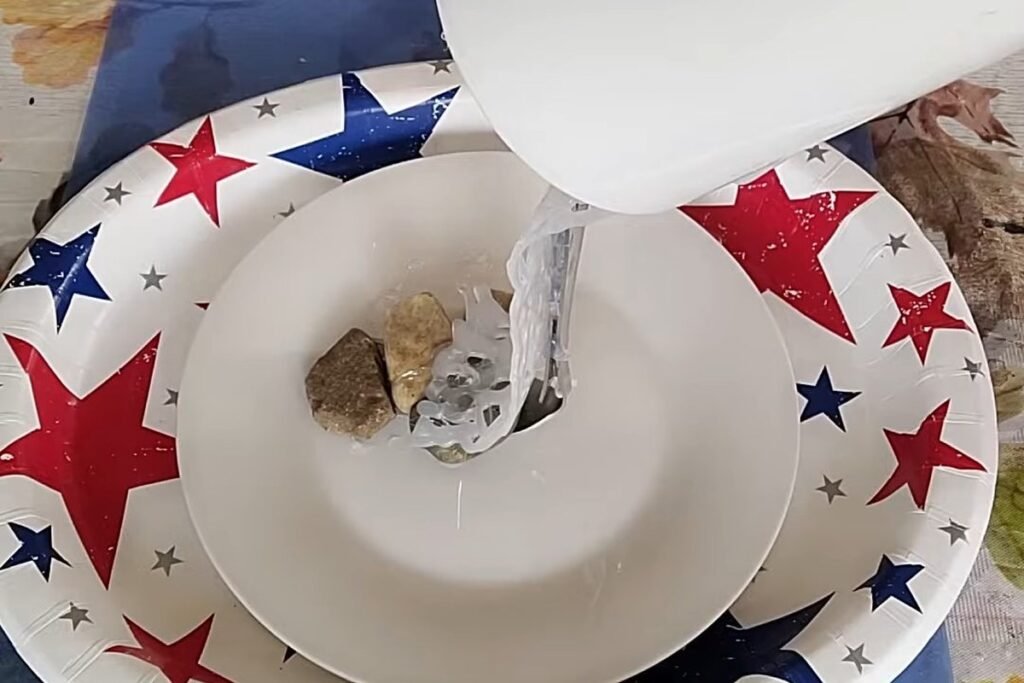
Step 11: Set up a tray and a bowl
Work over a large tray with a rim, and keep a bowl under the piece, so every bean that does not stick has somewhere to land. The maker works over a big platter and pours beans from a cup.
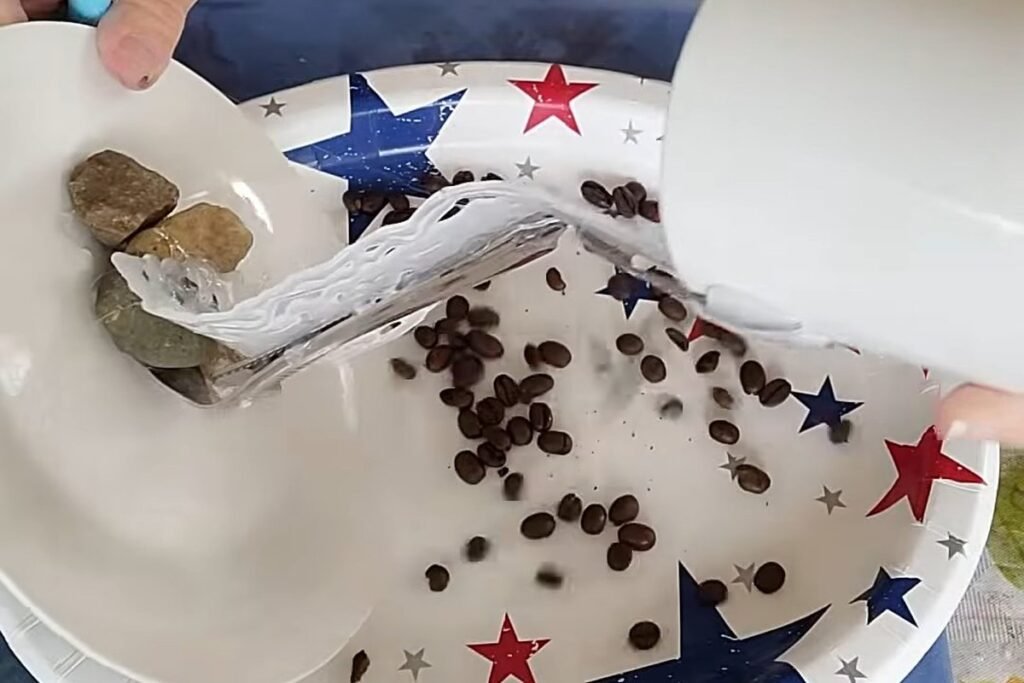
Step 12: Glue, then pour the beans
Start at the top and work down so each layer of beans can fall onto the one below. Put glue on a section, pour beans over it and move to the next. Layer after layer of glue and beans is what hides the ribbon and fork. Keep your glue sticks close and refill the gun often.
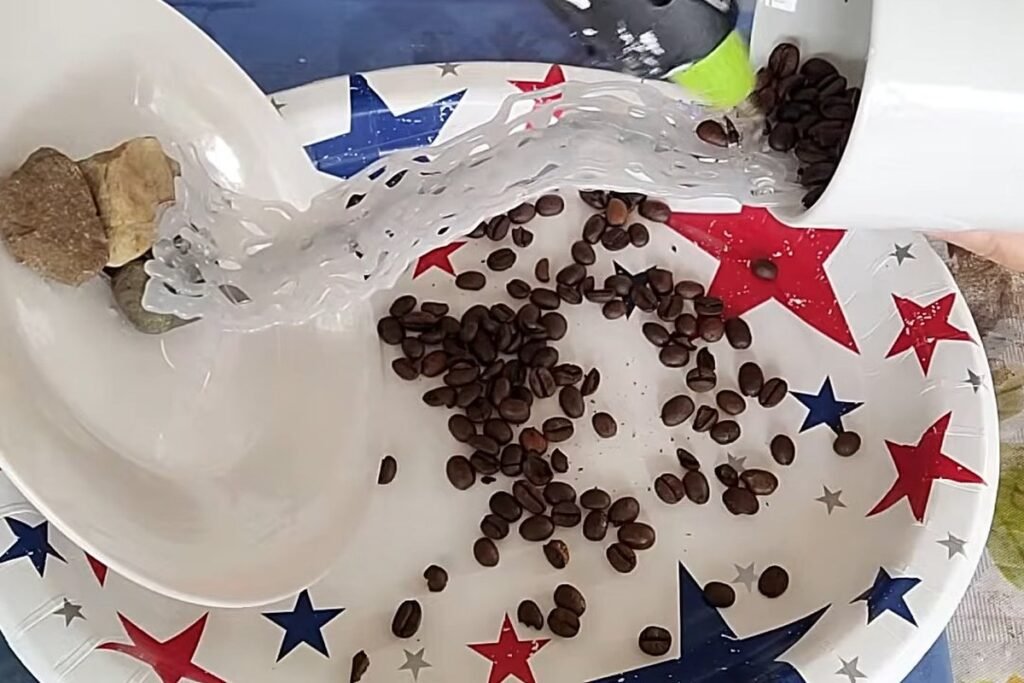
Step 13: Press the beans in
Press each batch of beans into the glue with a small tool and use it again and again. Little strings of glue will hang down. They are no use, so remove them, or save them to use at the bottom when you pile beans up. A blow dryer takes off the remaining glue strings, front and back.
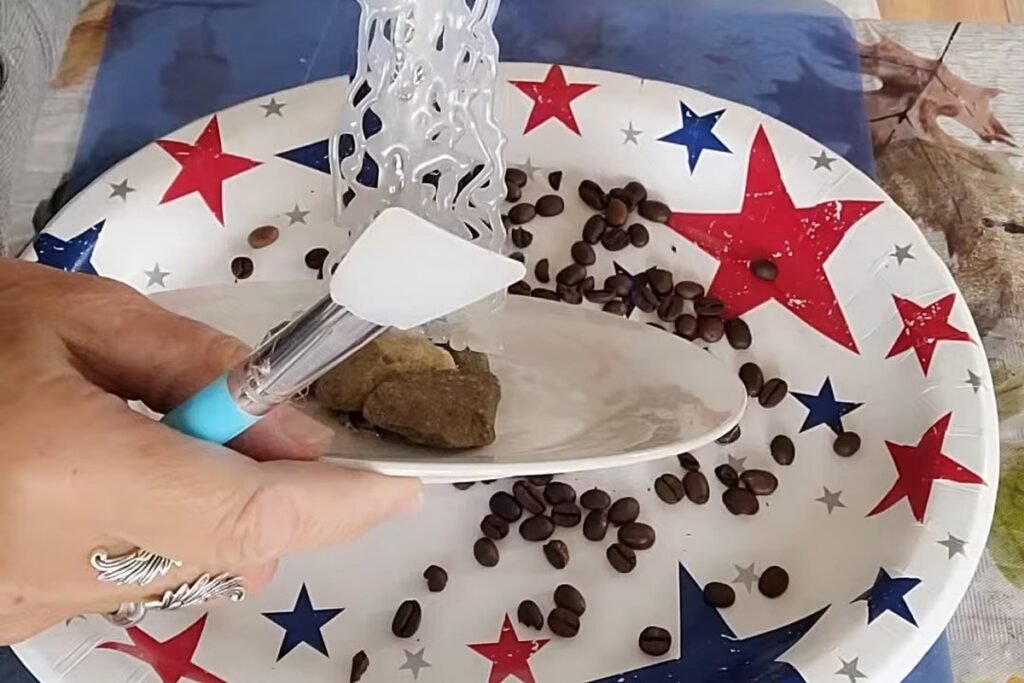
Step 14: Keep layering from top to bottom
Expect to pour and re-pour. By about 85 to 90 percent done, the maker had used close to six glue sticks. The beans keep falling off because they are small, so be ready to patch this Dollar Tree teacup decor DIY as you go.
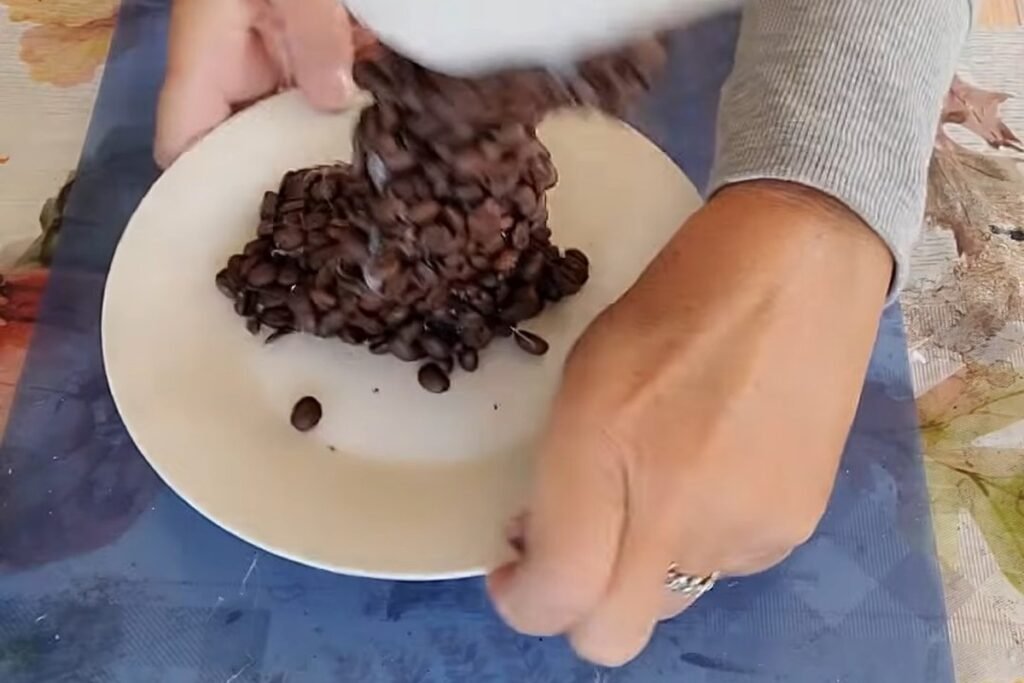
Step 15: Link the cup to the saucer
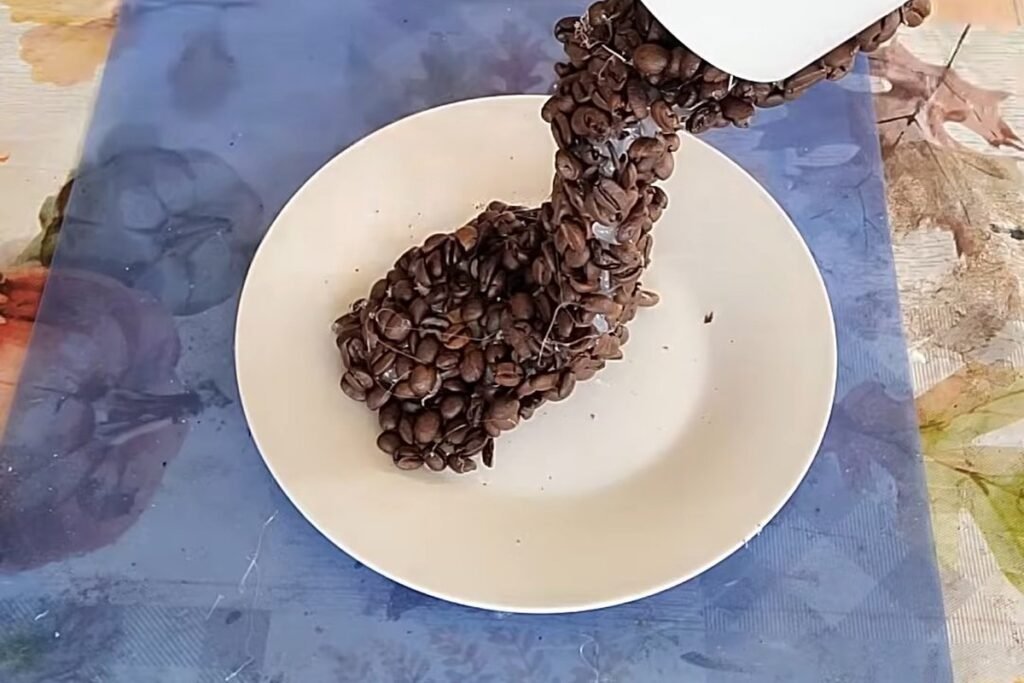
Let the beans build up the whole length of the ribbon until the stream joins the cup at the top and the pile at the bottom. The thick part near the cup hides where the fork meets the cup.
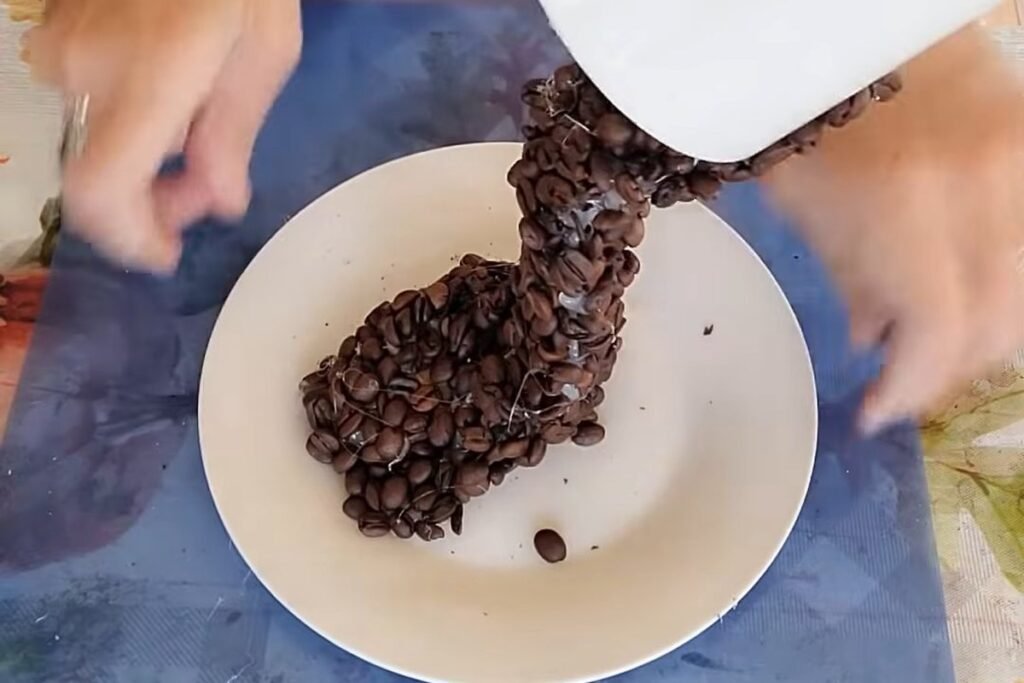
Step 16: Fill gaps and finish the base
Fill any gap with more beans and glue, and tidy the base of the pile. The maker also considered writing a short message on the bottom of the plate. When it looks right from every side, your Dollar Tree teacup decor DIY is ready to display. Her finished version still needed small touch-ups, and she did not show paint or any sealing.
Where Dollar Tree Teacup Decor DIY Usually Goes Wrong
Most trouble with a Dollar Tree teacup decor DIY comes from the glue, not from the idea.
- The fork will not bend. Use the two-fork build from step 1 rather than risk the fork or your hands.
- The cup shifts while the glue sets. Prop it with something heavy at the right angle and leave it overnight, as the project does. Do not touch it until it has cured.
- Glue strings everywhere. They come off with a blow dryer, front and back, or can be pinched off and reused at the bottom of the pile.
- New glue melts old glue. Work in short sections and hold each joint for a few seconds until it cools.
- Loose beans. In a Dollar Tree teacup decor DIY the beans are small and keep falling off, so work over a tray and press each batch into glue that is still glossy.
Ways to Change Your Floating Cup
The same bent-fork frame holds anything you can glue. The maker mentions flowers, leaves and aluminum foil as other fillings people use, and the ideas below are our suggestions on top of that for any Dollar Tree teacup decor DIY.
- The filling. Swap the coffee beans for dried flowers, leaves or small objects; the narrator says people have used flowers and leaves, and she prefers the glue-ribbon river for a better sense of flow over foil.
- Colour. A coloured cup or a patterned saucer changes the mood; a dark cup hides the glue but a white cup shows the beans best.
- Where it sits. A desk, coffee station or kitchen shelf suits this display. For other low-cost projects like this Dollar Tree teacup decor DIY, see DIY doily wall decor and bubble wrap home decor, and for more ways to save see economy home decor.
Safety: Hot Glue, E6000 and Coffee Beans
This Dollar Tree teacup decor DIY combines hot glue, a strong adhesive and food, so a few safety points matter more than usual.
- Hot glue burns. Gorilla’s own product page warns that the nozzle and melted glue can reach 380 F. If glue lands on skin, put it under cold water without peeling the glue off, and let the gun cool completely before you store it. Wear the finger protectors from step 2. (Gorilla)
- Ventilate while E6000 is wet. The E6000 Craft data sheet lists flammable solvents in the wet glue, says to use it in a well-ventilated area and asks you to avoid skin contact. Flammability varies by formula, so read your tube, and keep wet E6000 away from the hot glue gun tip and any flame. Allow 24 hours to cure; full strength can take 48 to 72 hours. (E6000 Craft data sheet)
- Decorative only. The same data sheet says E6000 is not recommended for items that come into contact with food, drinking water or animals, so never drink from a cup used in this project. (E6000 Craft data sheet)
- Keep the beans away from pets. Pet Poison Helpline says that eating unused coffee beans can cause serious toxicity in dogs and cats, and the ASPCA lists coffee among the foods pets should not eat. A display that sheds a loose bean is a risk on a low table. (Pet Poison Helpline, ASPCA)
- Keep it away from heat. Hot glue softens as it warms. For one low-temperature stick, the maker’s data sheet gives a softening point of 176 F and peel failure from 126 F, so a sunny windowsill or a spot beside a hot appliance can make a display sag. Check the sheet for the sticks you buy. (Surebonder data sheet)
- Put it where it will not be knocked. The cup is held by a fork and glue, not by a wide base. Our advice: keep it on a flat, stable surface away from the table edge, and lift it by the saucer, never by the cup.
Dollar Tree Teacup Decor DIY FAQ
How much does Dollar Tree teacup decor DIY cost?
Plan on about $27 to $80 if every item is bought new, with the glue sticks, glue, beans and glue gun making up most of it. Dollar Tree lists mugs and plates at about $1.50, forks at $1.25 for three, hot glue sticks at $1.25 and river rocks at about $1.75, but prices and stock vary by store. We did not find E6000, glue guns or whole coffee beans on its site. Prices checked October 2026.
Can I drink from the cup afterwards?
No. E6000 is not recommended for items that touch food or drinking water, and hot glue has no food-contact approval for a cup you drink from. Treat the finished piece as decoration only.
Can I use one fork in this Dollar Tree teacup decor DIY?
Yes, and the maker prefers it when the fork will bend: a single bent fork takes up less space. The two-fork build exists because some forks will not bend, and it is taller and sturdier.
How long does a Dollar Tree teacup decor DIY take?
Plan on several sittings for this Dollar Tree teacup decor DIY. The cup and fork each need an overnight wait, and the beans need a lot of glue; the maker had used close to six glue sticks by the 85 to 90 percent stage. The project gives no total time, so treat any single number as a guess.
Will coffee beans attract pests or go stale?
Whole beans start losing freshness soon after roasting, and the National Coffee Association says opened beans stay fresh for only a week or two in an airtight container. On display they will dull and smell less, but they stay decorative. Keep the piece dry, because mould can grow if moisture gets in, and dust it gently. We found no reliable source on pests, so the safest course is to keep it dry and clean and to keep it out of pets’ reach.
Sources
- Gorilla Dual Temp Mini Hot Glue Gun product page: nozzle and glue temperature and burn first aid
- E6000 Craft Adhesive technical data sheet (Eclectic Products): cure times, ventilation, bonding to ceramic and metal, food-contact note
- Surebonder #830 low-temperature hot melt specification sheet: softening and failure temperatures
- Pet Poison Helpline: caffeine
- ASPCA: people foods to avoid feeding your pets
- National Coffee Association: storage and shelf life
- Prices: Target and Dollar Tree product pages, checked October 2026; retail prices change often.
Project credit: this project idea comes from the DIY channel Gammy’s gone GrayZy.