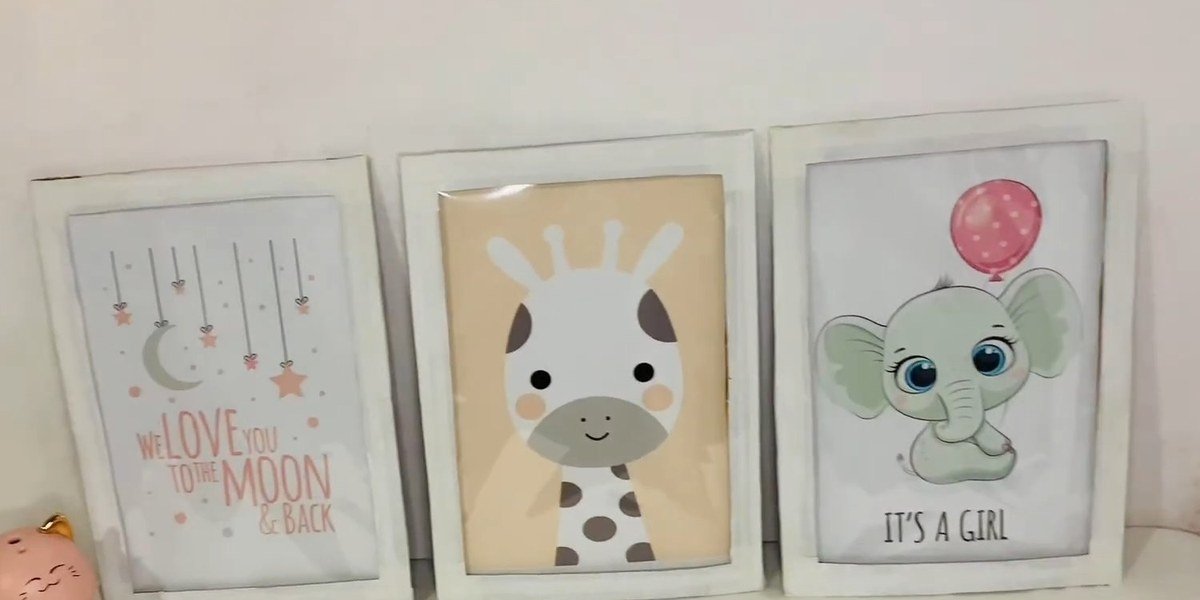
Nursery Room Wall Decor, How to Make 3 Easy Frames
Nursery room wall decor can cost little more than a roll of tape and a small bottle of paint: three white picture frames built from cardboard, with a clear plastic window and a slot at the back so the picture can be swapped whenever the room changes. Budget about $26 to $48 if every supply is bought new (most of that is packs of tape, paint and plastic that outlast three frames, so it drops sharply if you already own some), plan an afternoon for all three frames, and expect nothing harder than marking, cutting straight lines and pressing tape down neatly.
Each frame is a sandwich. A tape-wrapped cardboard ring sits at the front, clear plastic sits behind it, narrow cardboard strips act as spacers, and a cardboard sheet closes the back. The print slides in between the plastic and the back sheet, so a new picture takes seconds instead of a new frame. That swap-in slot is what makes this nursery room wall decor practical as a baby grows. Below are the materials with price ranges, every step with a photo, the snags to watch for and the safety points that matter in a baby’s room.
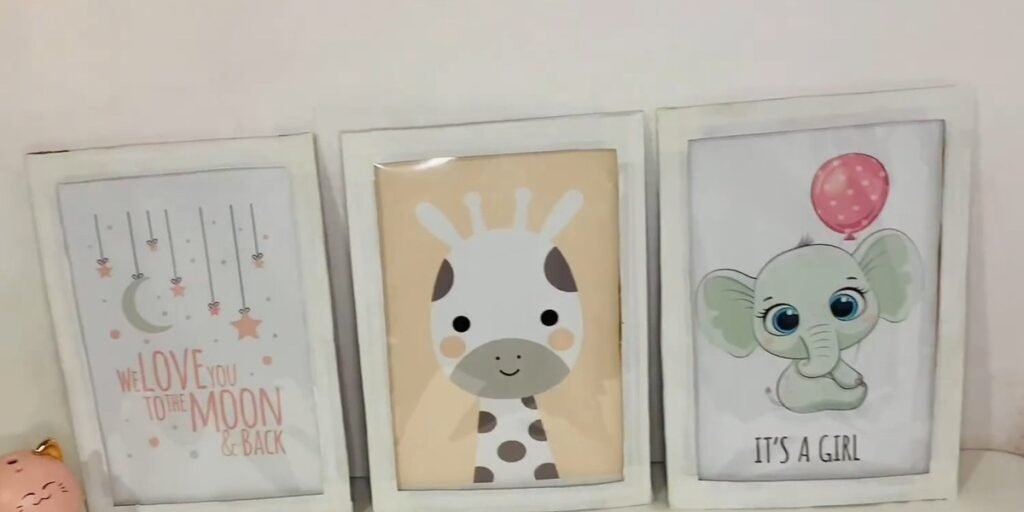
Table of Contents
Quick Facts Before You Cut Anything
| What | Answer |
|---|---|
| Frames made | Three portrait frames of nursery room wall decor, each cut from 12 x 9 in cardboard sheets (about 9 x 12 in standing up) |
| Frame border | 2 cm (about 0.8 in) on every side, marked in pencil before cutting |
| Cost | About $26 to $48 buying everything new; the cardboard is free, and a trimmer is optional |
| Time | An afternoon for all three (our planning estimate; the original project gives no clock times) |
| Drying time | Follow the paint label; the original project does not state one |
| Difficulty | Beginner, with one sharp tool (paper trimmer or craft knife) |
| Renter-safe | Yes, if hung with removable adhesive strips rated for the weight (see the hanging section) |
One honest note: the original project does not give a drying time, the number of paint coats or a hanging method, so those parts below are labelled as our recommendations rather than part of the project.
Materials and Tools for Nursery Room Wall Decor
Everything here is ordinary craft or stationery supply. Prices are typical US ranges at large retailers in 2026 and will vary by store, brand and pack size.
| Item | Amount | Price range | Budget swap |
|---|---|---|---|
| Corrugated cardboard sheets, 12 x 9 in | About 6 (two per frame: one front ring, one back) | Free | Flattened shipping boxes with no staples |
| Thin cardboard strips | Four per frame, cut from offcuts | Free | The cut-out middles of the rings |
| Clear plastic sheet | One piece per frame, a little larger than the opening | $4 to $8 per pack of 25-50 sheet protectors | A clear sheet protector or report cover; check that it overlaps the ring’s tape on every side |
| Masking tape, about 1 in wide | 1 roll | $6 to $9 | A partly used roll is fine |
| Strong double-sided tape | 1 roll | $4 to $9 | Strong double-sided mounting squares |
| White fabric paint and a small brush | 1 small bottle, 1 brush | About $9 for a 4 fl oz brush-on bottle; brush sets $3 to $12 | Any water-based white craft paint labelled non-toxic |
| Paper trimmer, craft knife, scissors, pencil, ruler | 1 each | $32 to $44 for a 12 in trimmer (optional) | Ruler and craft knife on a cutting mat |
| Printed pictures | 3 prints | $0.30 to $0.50 per colour page at a library | Your own drawings or photos |
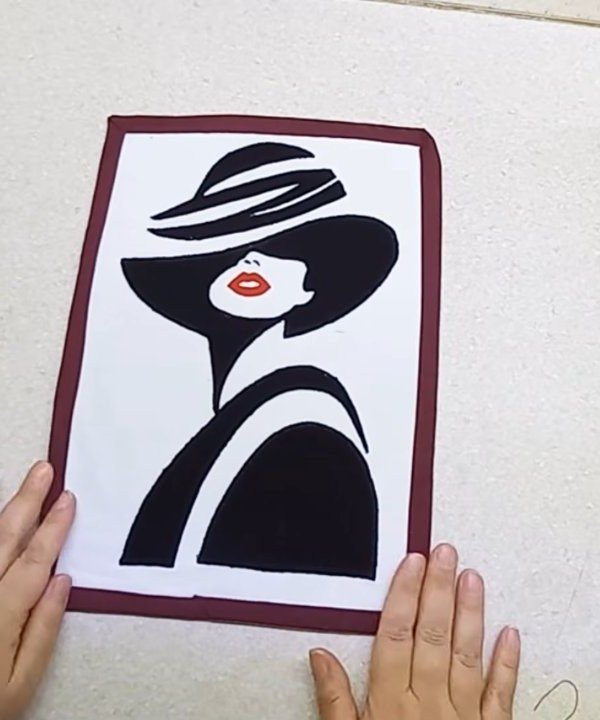
Choose pictures you are allowed to print. Your own photos, a child’s drawing or a free printable whose licence says personal use are all fine; artwork pulled from a shop listing is not. The three prints in the photos are baby animals with short phrases, but any portrait picture that fits your opening works.
How to Make Nursery Room Wall Decor, Step by Step
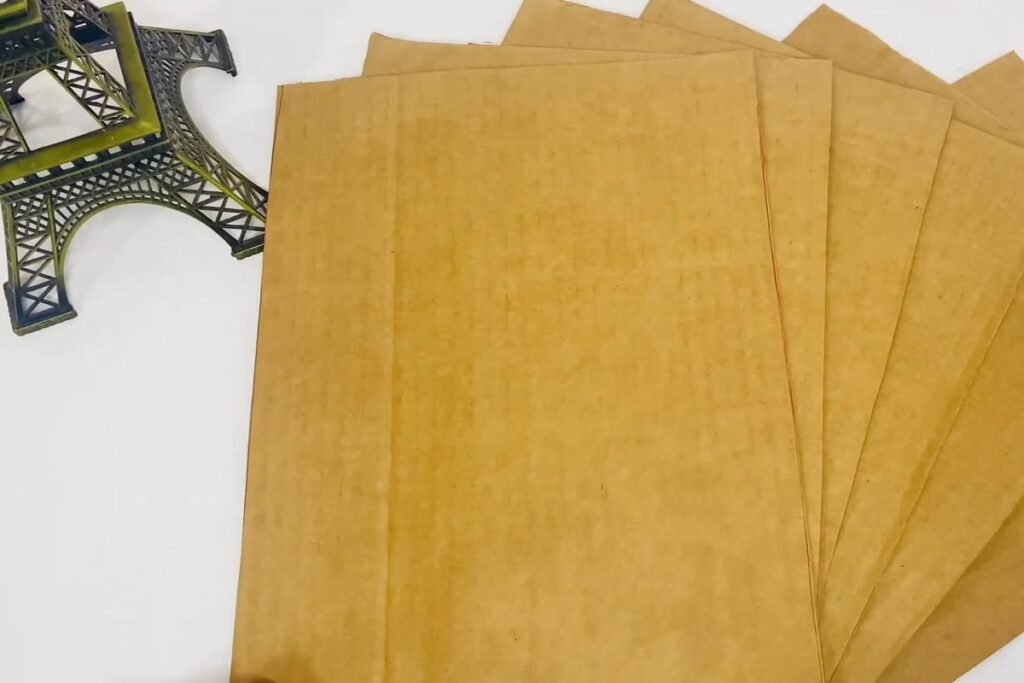
Step 1: Gather six cardboard sheets
Every piece of this nursery room wall decor starts as plain corrugated cardboard. Flatten clean boxes and cut or tear them down to 12 x 9 inch sheets. Plan on two sheets per frame: one becomes the front ring and one becomes the back. Choose flat, undamaged board with no staples, because warped cardboard makes a warped frame.
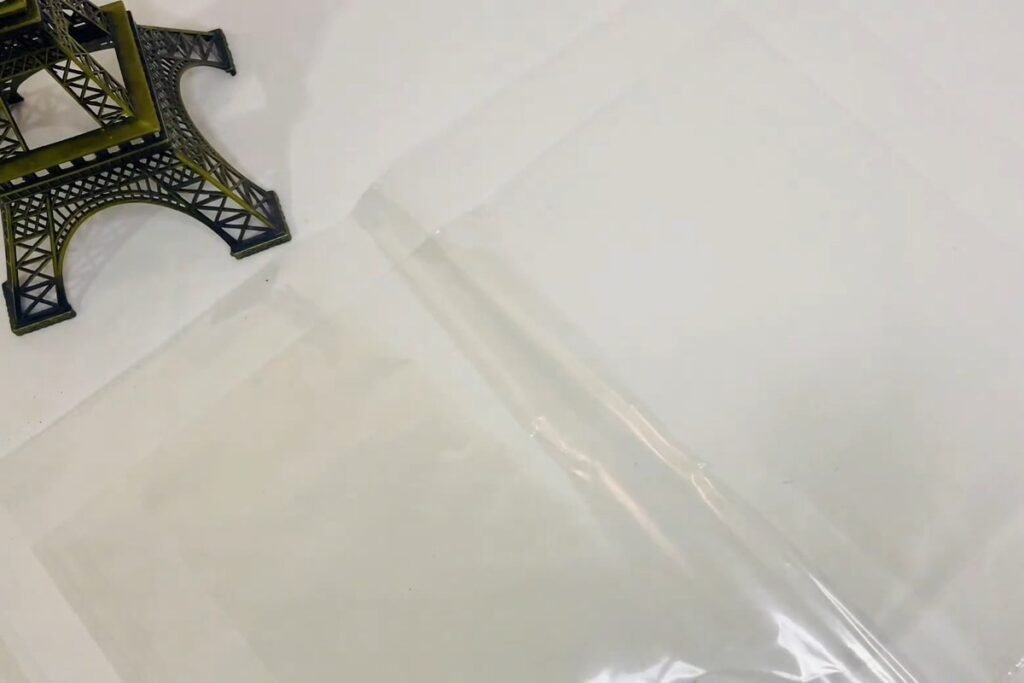
Step 2: Prepare the clear plastic
Smooth the clear plastic flat on the table. It acts as the glass, so pick a piece without scratches or deep creases, and keep it a little larger than the frame opening. The extra is what the tape grips later.
Step 3: Cut the thin cardboard strips
Cut narrow strips from leftover cardboard, one for each side of each frame. They become the spacers that hold the back sheet away from the plastic and create the slot for the print. The photos suggest a width close to the 2 cm frame border; match the length to the side each strip will sit on.
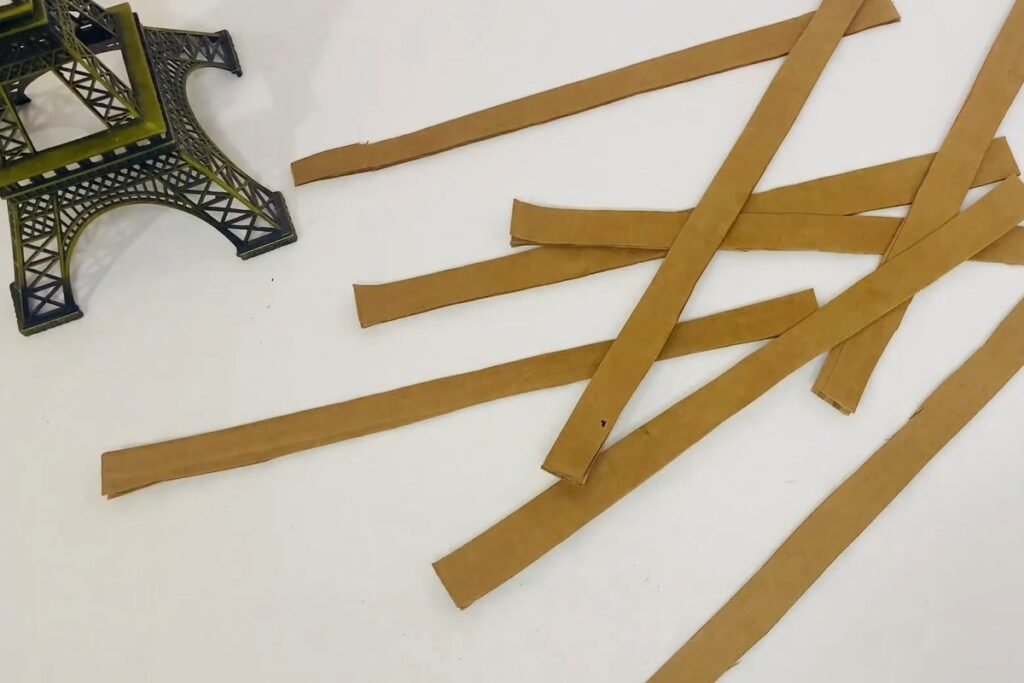
Step 4: Mark a 2 cm border on each sheet
Draw a line 2 cm in from every edge of a sheet and write the measurement along each line as a reminder. The 2 cm ring is the frame; the rectangle inside it will be cut away. Keep the lines straight and parallel to the edge, because a crooked line shows once the frame is white.
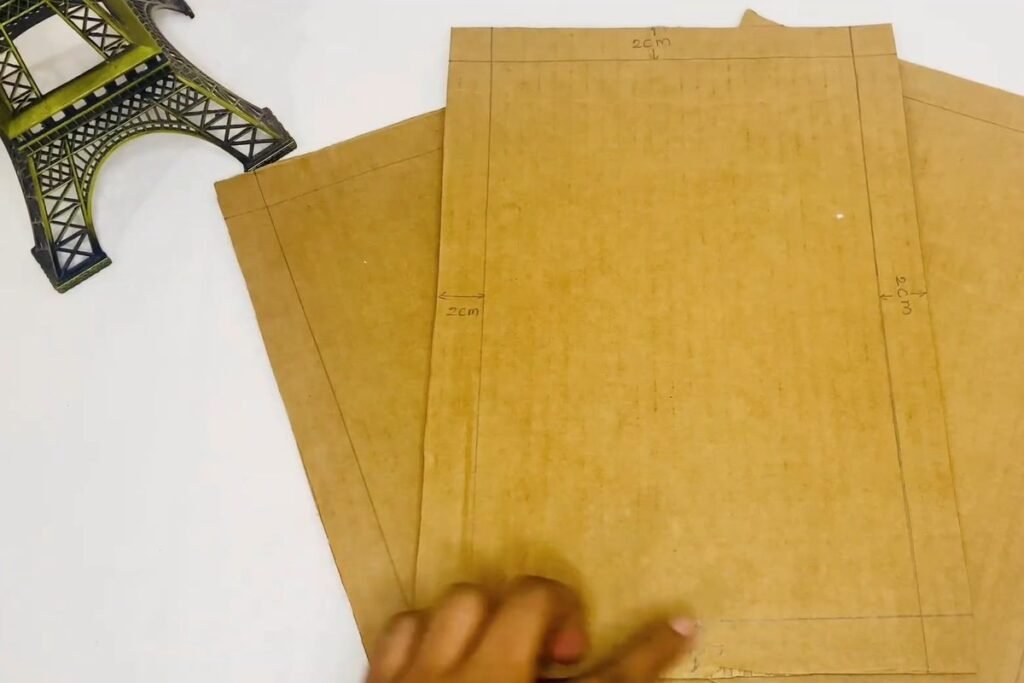
Step 5: Cut out the middle
Cut along the inner lines. A paper trimmer handles the long straight runs, and a craft knife or scissors finish the corners. Cut slowly and in several light passes through thick board rather than forcing one deep cut.
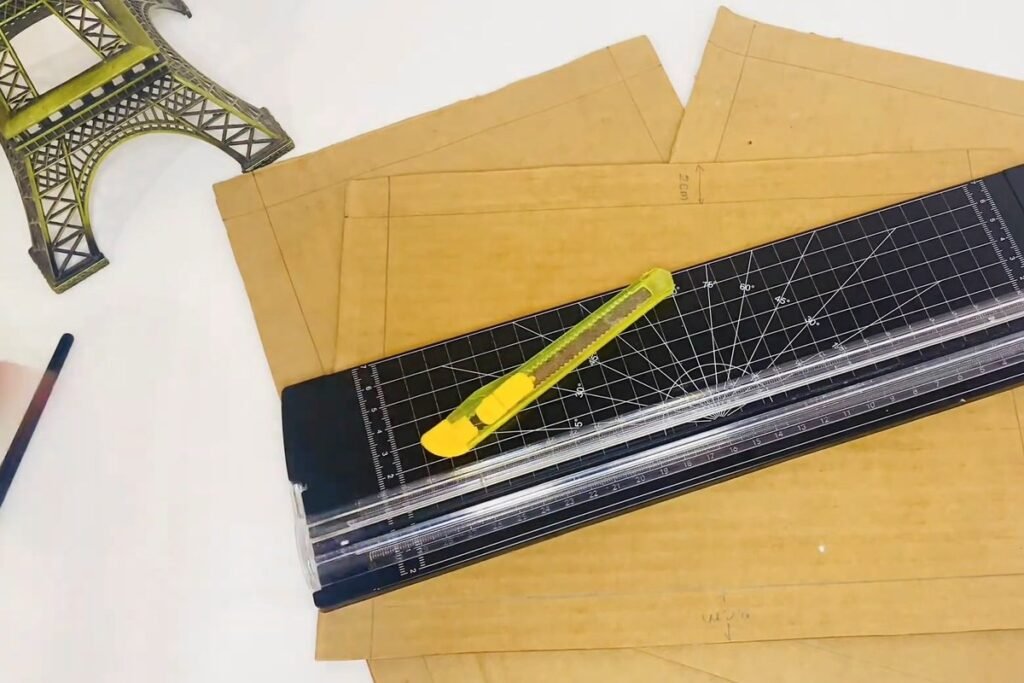
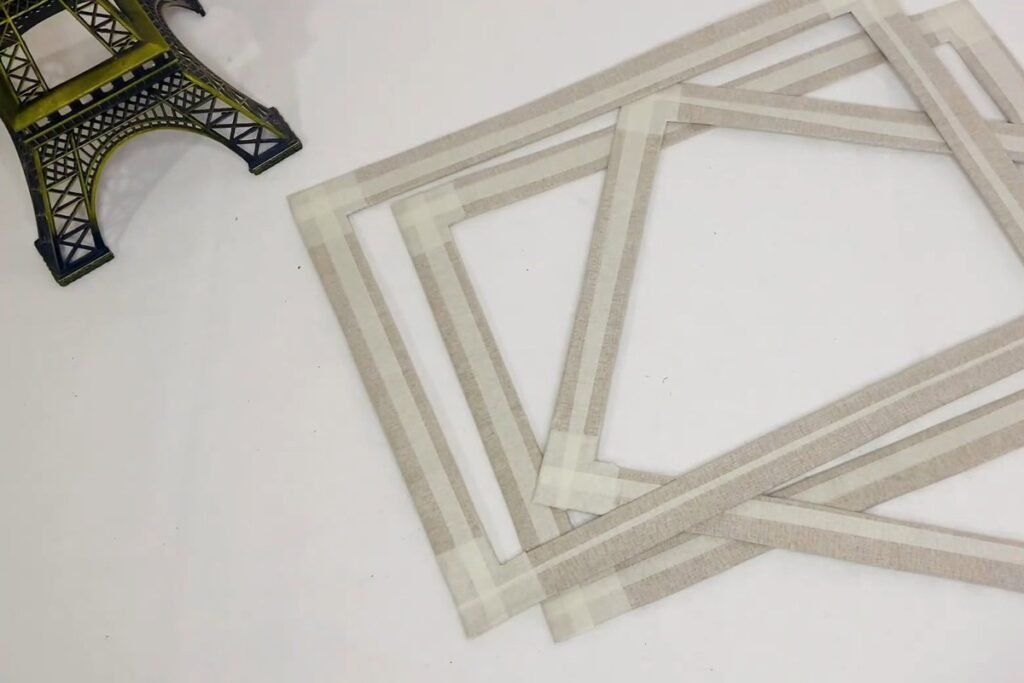
Step 6: Make a ring for every frame
Repeat until you have one ring for each frame. Two are cut first, and a third follows so the set matches. The leftover middle pieces are a handy source of strips if you ran short in step 3.
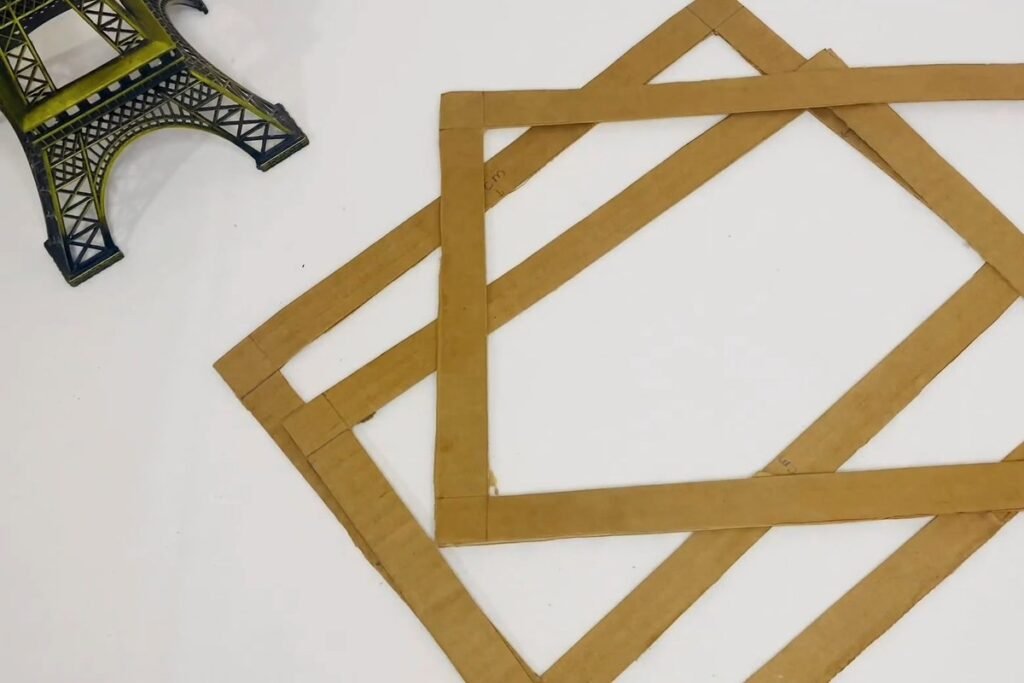
Step 7: Test a ring over your print
Lay a ring over the printed picture. It should cover the paper’s white margin without covering any of the artwork. If it hides part of the picture, adjust the print or recut the ring now, while it is still just cardboard.
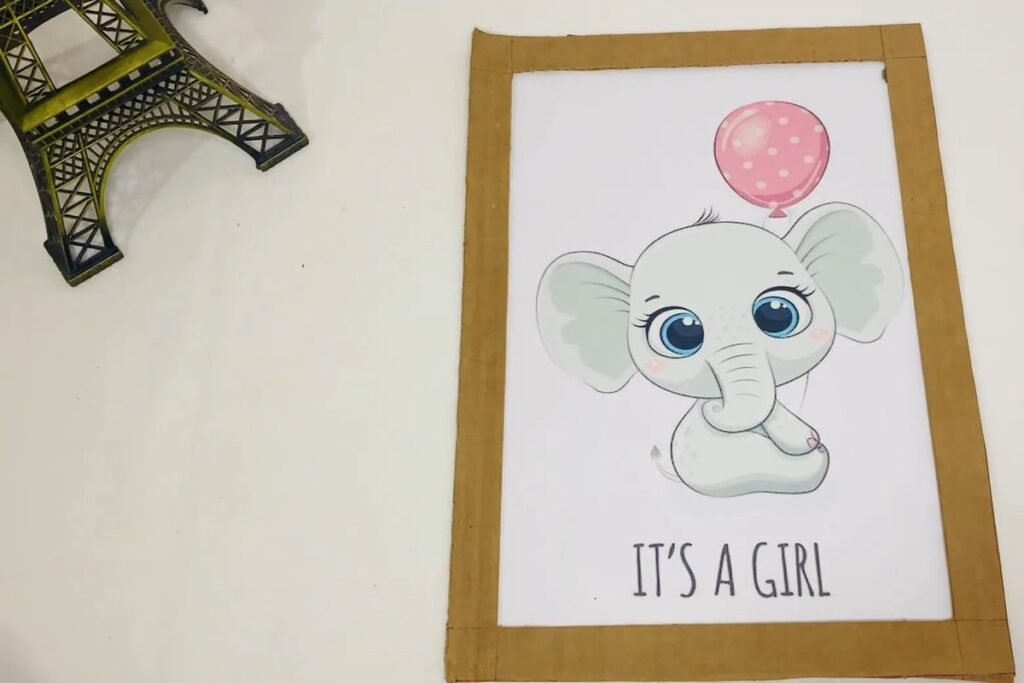
Step 8: Lay masking tape along the ring
Stick a strip of masking tape along one side of the ring and cut it to length with scissors. Masking tape gives the raw cardboard edge a smooth surface that paint can cover evenly.
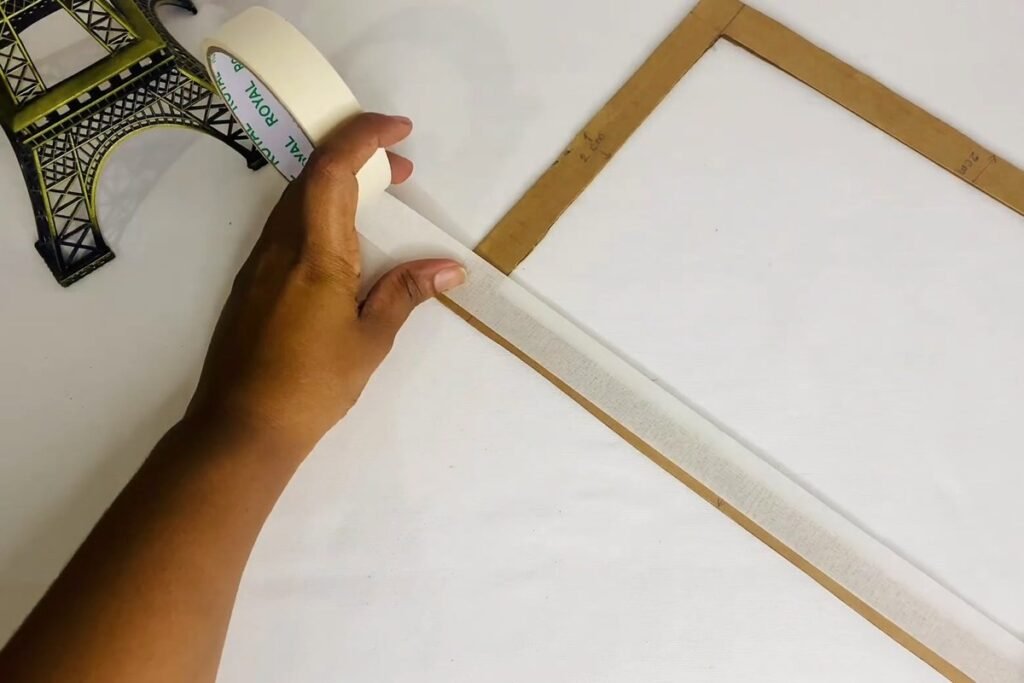
Step 9: Fold the tape over the edge
Fold the tape over the cardboard edge and press it flat so the board is covered, with no gaps. This taped edge is what the paint will cover later.
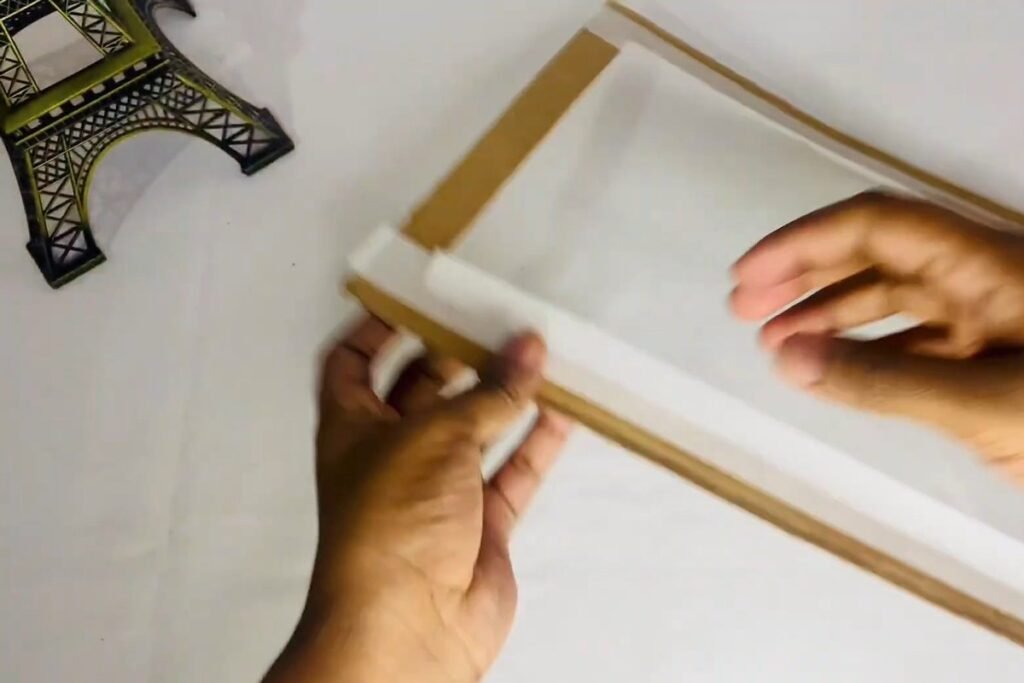
Step 10: Wrap every side and corner
Repeat on all four sides, overlapping the tape at each corner so no brown shows. Take your time here: every lump or lifted corner will show through the paint.
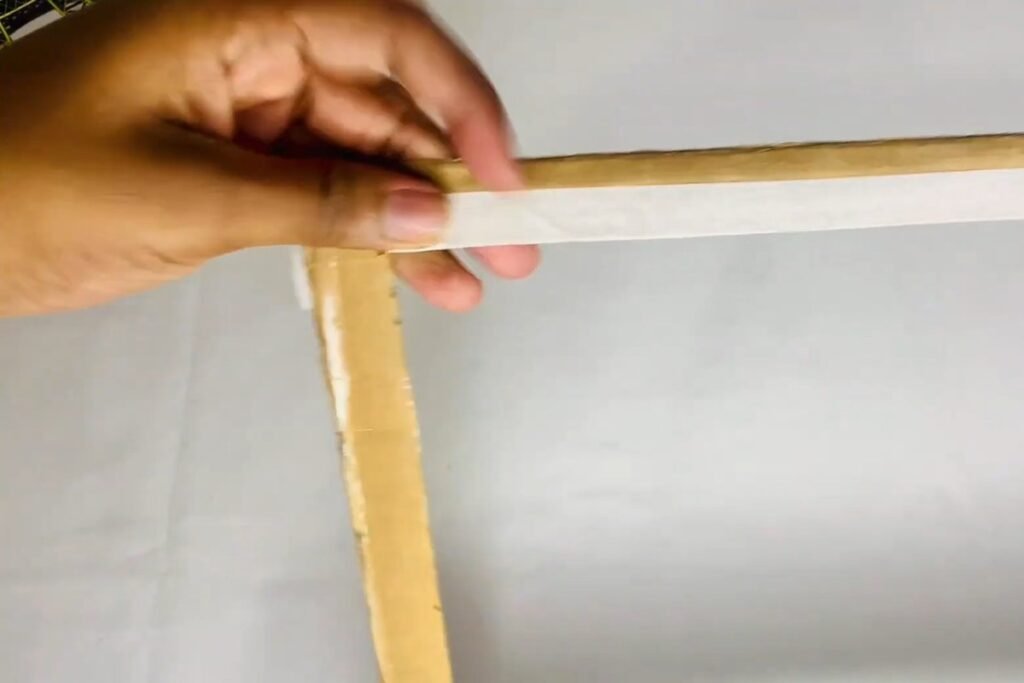
Step 11: Wrap the other rings
Tape the other rings the same way. When they are all wrapped, you have three pale frames ready for their windows.
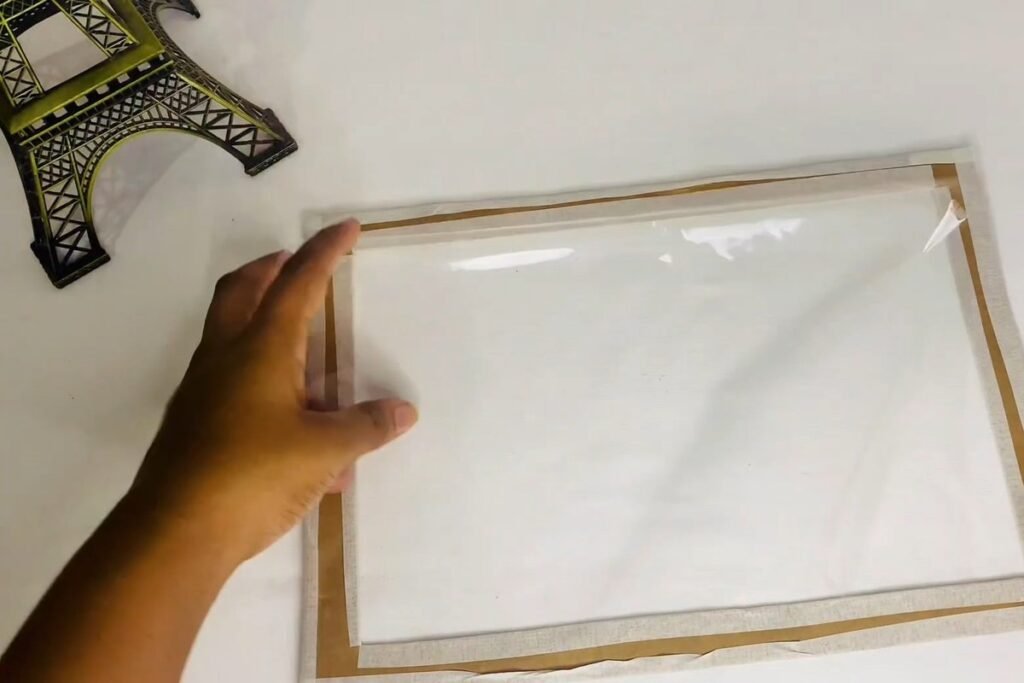
Step 12: Lay the clear plastic over a ring
Place the plastic over a taped ring and smooth it flat with your palm. Check that it reaches every edge of the ring.
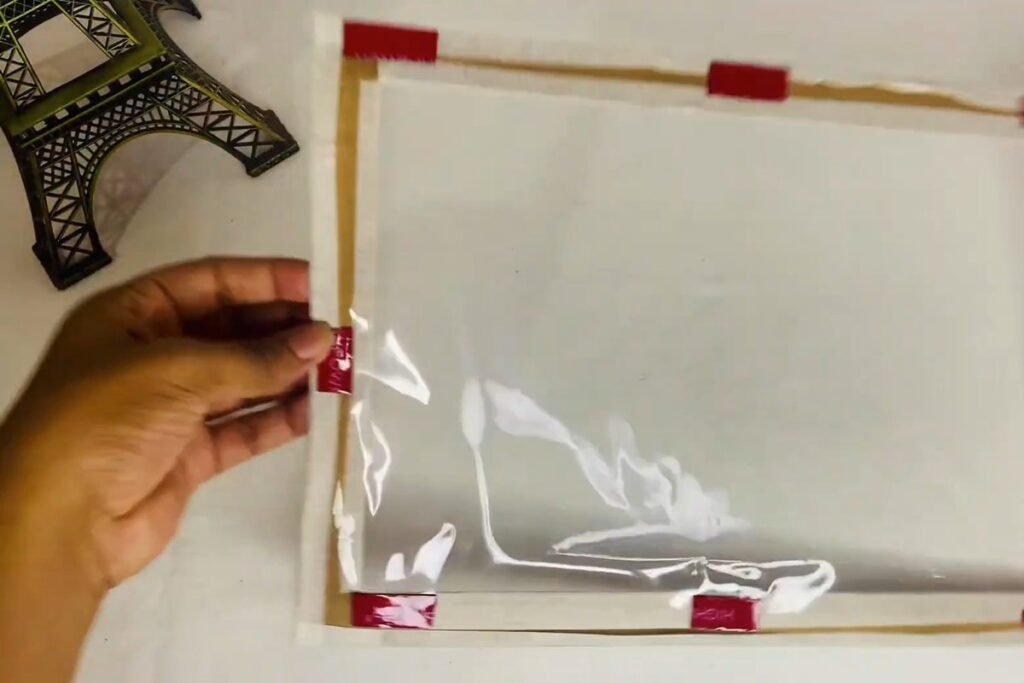
Step 13: Fix the plastic with double-sided tape
Lift an edge of the plastic and stick short pieces of strong double-sided tape onto the ring at each corner and around the middle of each side. Press the plastic down onto them so the window stays flat.
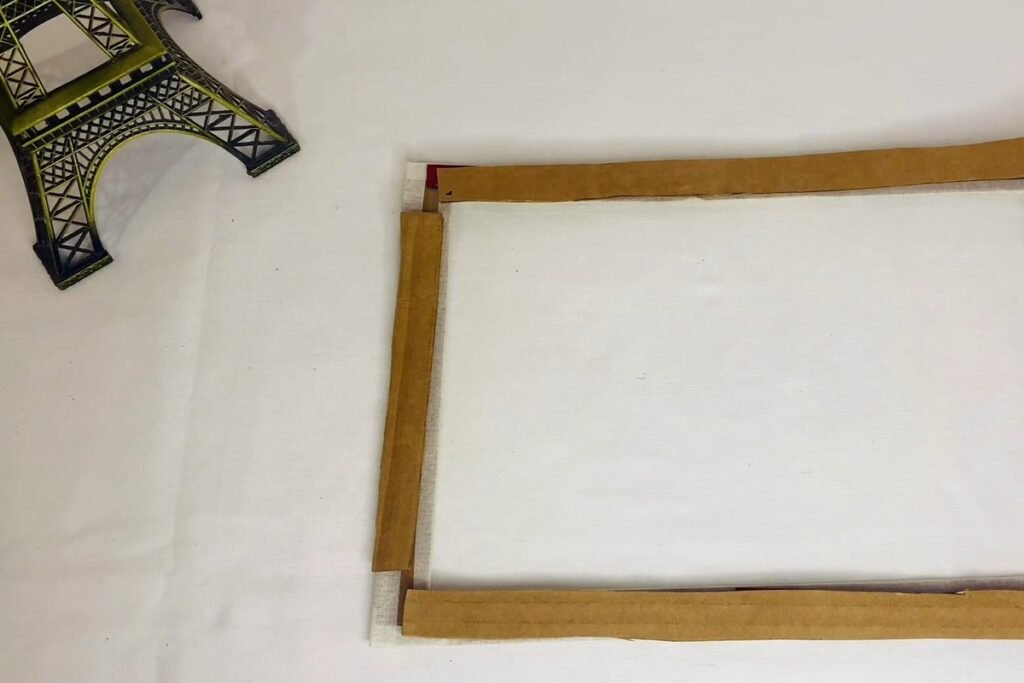
Step 14: Stick on the spacer strips
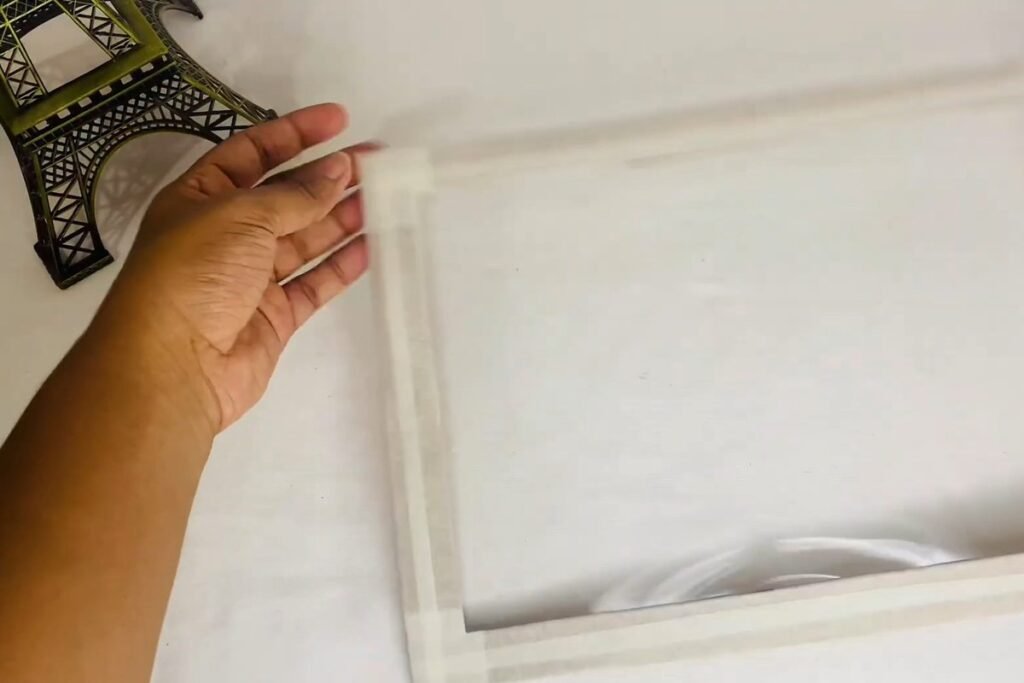
Stick the cardboard strips along the sides of the ring, over the double-sided tape. The strips lift the back sheet away from the plastic, which creates the pocket for the print. Look at the photo: the right-hand strip stops short of the bottom corner, leaving the gap the print will enter through.
Step 15: Seal the plastic edges with masking tape
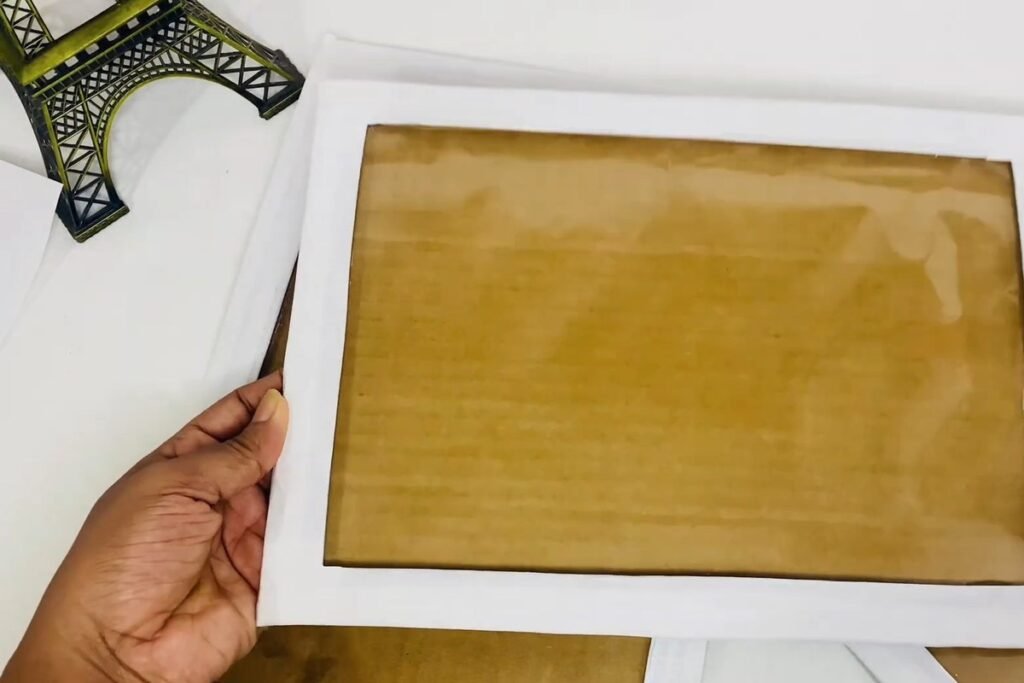
Turn the frame over and run masking tape around the edges to lock the plastic and the strips together and to cover the raw edges. The result should look like a clean, flat frame with a clear window.
Step 16: Add the back sheet
Set a 12 x 9 inch cardboard sheet on the strips as the back and fix it with masking tape along the edges. Leave the gap from step 15 unsealed so the print can slide in later.
Step 17: Press the back tape flat
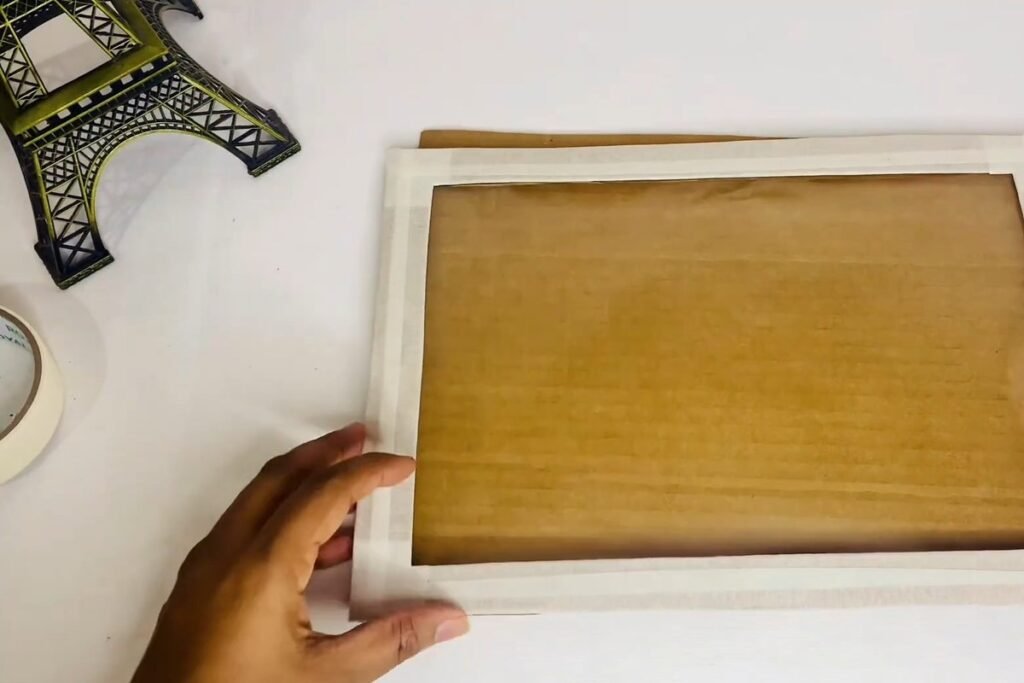
Turn the frame over and smooth the tape along the back with your hand. Every edge needs to be pressed flat now, because paint is about to go on top.
Step 18: Paint the frame white
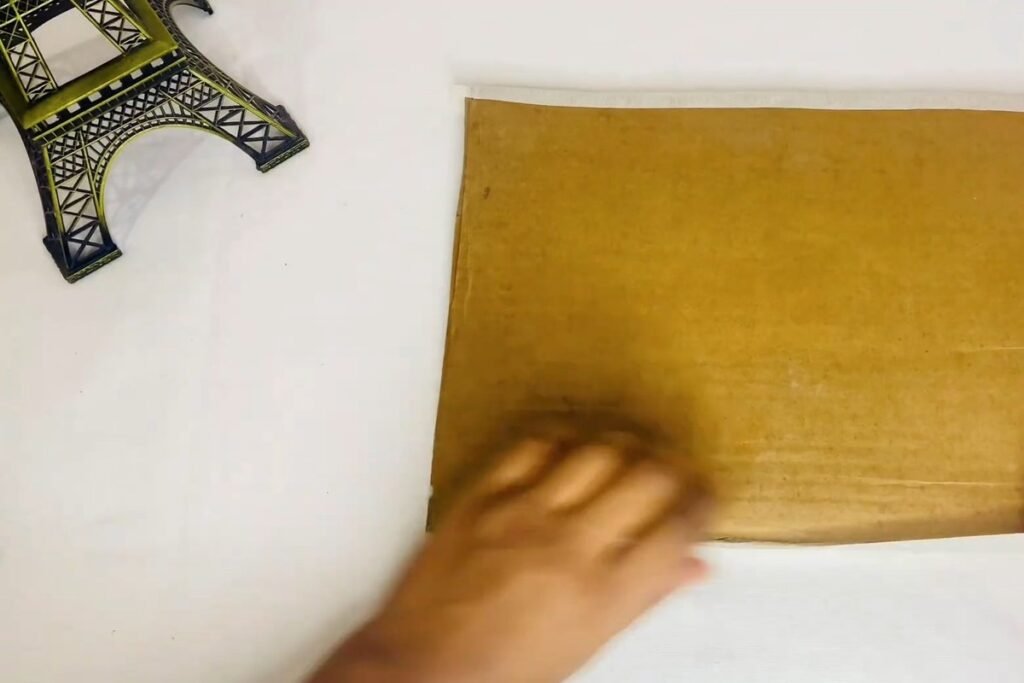
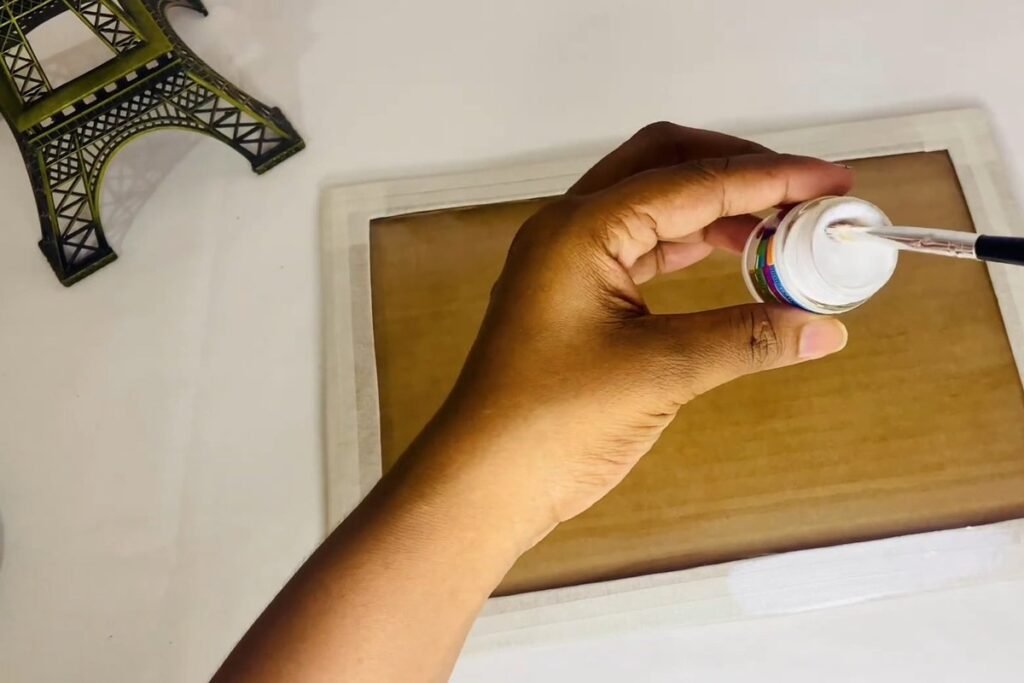
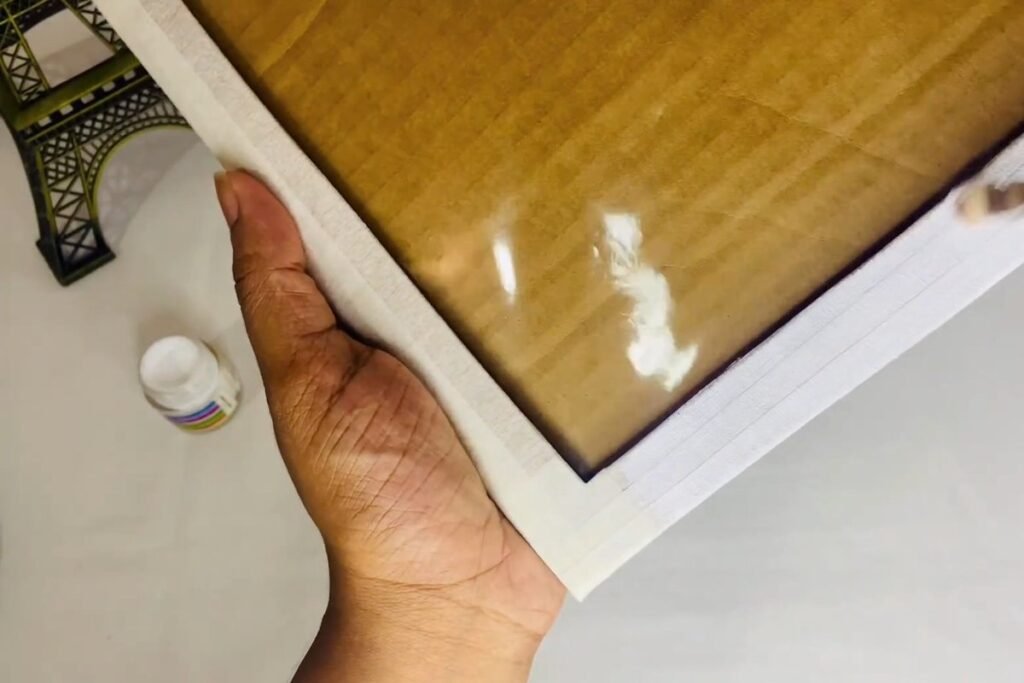
Open the white fabric paint and brush it onto the taped border with a small brush, keeping the plastic window clean. The original project does not give a number of coats; apply thin coats until the tape and board colours disappear, and let the paint dry between them as the label says.
Step 19: Paint the outer edges
Tilt the frame and paint the outer edges and corners too, so the white is even from every angle. Thin coats also help the cardboard stay flat, because water-based paint can bow thin board.
Step 20: Let the paint dry
Leave the frames flat until the paint is completely dry. The original project does not state a drying time, so follow the label on your paint and wait longer rather than shorter before the picture goes in. For reference, one brush-on fabric paint maker asks for one or two coats, each allowed to dry fully, and about four hours lying flat before handling; the label on your bottle overrules that.
Step 21: Slide the print into the slot
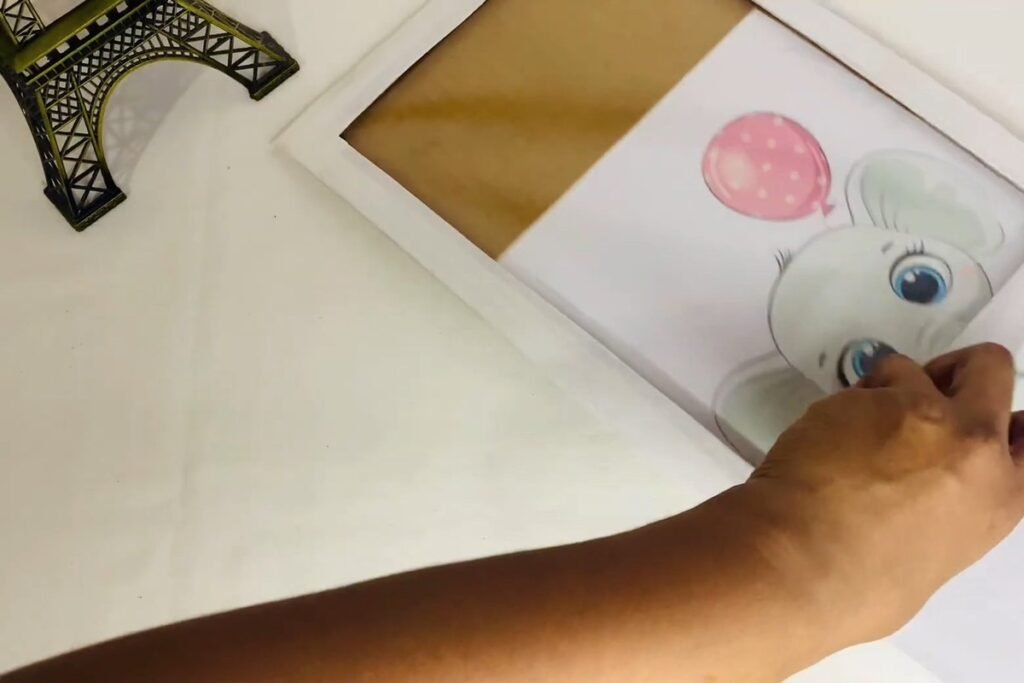
Slide the picture into the gap between the plastic and the back sheet and nudge it until it sits straight. The ring from step 7 should now hide the paper margin, leaving only the artwork on show. Repeat for the other frames and your nursery room wall decor is ready to hang.
Common Snags and How to Fix Them
Most trouble with cardboard nursery room wall decor comes from small preparation slips, not from the building itself.
- The print does not fit the opening. Test the ring over the print in step 7, before any tape goes on. Fix: trim the print’s white margin or recut the ring.
- Wavy plastic. Trapped air and creases show up as bright patches. Fix: smooth from the centre outward and use short double-sided tape pieces so the plastic can be lifted and reset.
- Cardboard that bows after painting. Fabric paint is water-based, and thin board can bend as it dries. Fix: use thin coats and rest the frames flat under a light weight while they dry.
- Tape corners lifting under the paint. A loose overlap opens up when the brush drags over it. Fix: press every overlap flat before the first coat and cut tape ends square.
- A faded or stained print. Fix: corrugated cardboard is acidic, and the US National Park Service lists acidic board among the materials to keep away from paper artwork because it can discolour what it touches. Slip a sheet of acid-free paper behind the print, keep the frames out of direct sunlight (the Library of Congress warns that light fades and yellows paper) and keep the original file so you can reprint.
Ways to Change Your Nursery Room Wall Decor
The build works with any picture that fits the opening, so one set of nursery room wall decor can follow the room as it changes.
- Colour. The nursery room wall decor above is white. A pale sage, soft grey or warm cream paint gives a different mood; it is our suggestion rather than part of the original project, and light colours need extra coats to hide the tape.
- Size. The method works for other sizes if you keep the border proportions: cut the back sheet to the print’s size plus a margin and mark the same narrow border. Larger frames need stronger board.
- Other rooms. A hallway, playroom or reading corner works as well as a nursery. For layout ideas on grouping frames, see boho wall decor, and for another budget wall project look at DIY doily wall decor.
If you are decorating on a tight budget, the economy home decor guide shows where else small projects like this one can replace store-bought pieces.
Hanging Nursery Room Wall Decor Safely
The original project stops once the frames are finished and standing on a surface, so the hanging advice here is ours. The frames are light, but nursery room wall decor has its own rules.
- Keep the frames away from the crib. The American Academy of Pediatrics advises keeping picture frames and mirrors away from the crib and nothing but a fitted sheet inside it. Hang these on a wall well clear of the sleeping area, never over the crib. (HealthyChildren.org)
- No cords or loops within reach. The AAP baby-room checklist says to keep strings and cords from dangling in or near the crib. Hang the frames flat with adhesive strips or a hook rather than on ribbon or string. (HealthyChildren.org)
- Keep plastic and tape scraps out of reach. The US Consumer Product Safety Commission has issued alerts treating plastic film on children’s products as a choking hazard. The plastic here is taped behind a border, but unfinished frames, offcuts and loose tape pieces should stay out of a baby’s reach. (CPSC safety alerts)
- Check the paint label. Look for the AP seal or a line saying the paint conforms to ASTM D 4236, choose brush-on rather than puffy paint, work with a window open and let the frames dry fully before they go in the room. (ACMI)
- Hang with removable strips and follow the pack. Clean the wall, press the strips for the time stated and wait as the instructions say before hanging. Newly painted walls need time to cure before adhesive strips stick well. (3M Command)
- Handle the cutting tools with care. Use the trimmer or craft knife on a flat surface, cut away from your hands and put the blade away before you start taping.
Nursery Room Wall Decor FAQ
How wide should the frame border be?
The project marks a 2 cm border (about 0.8 inch) on every side of a 12 x 9 inch sheet. That is wide enough to hold a taped ring together and to hide the white margin of a printed picture.
Can I change the picture in this nursery room wall decor later?
Yes. The print slides into the slot between the plastic and the back sheet, so you can swap it without cutting or gluing anything. Keep the gap in the strips unsealed for that reason.
Which pictures work best for nursery room wall decor?
Use an image you own or one whose licence allows personal printing: your own photos, a child’s drawing or a free printable. A portrait shape that fits the opening works best, and printing on slightly thicker paper keeps it flat behind the plastic.
How do I hang cardboard nursery room wall decor?
Use removable adhesive picture-hanging strips on a clean, dry wall, following the weight rating and wait time printed on the pack. A cardboard frame weighs far less than the rating of any strip pack. Place the frames well away from the crib, and avoid ribbons, string or hanging loops, because the American Academy of Pediatrics advises keeping cords from dangling in or near a crib.
Is fabric paint safe on nursery room wall decor?
Check the bottle. The AP (Approved Product) seal from the Art & Creative Materials Institute means a toxicologist reviewed the product for health risks, including for children, and sealed labels also meet the ASTM D 4236 labelling standard. Look for the seal or an ASTM D 4236 line, choose a brush-on paint rather than a puffy or dimensional one, let the frames dry completely and keep them out of a baby’s reach.
Sources
- HealthyChildren.org (American Academy of Pediatrics), Suitable Sleeping Sites
- HealthyChildren.org (American Academy of Pediatrics), Make Baby’s Room Safe: Parent Checklist
- Art & Creative Materials Institute, Approved Product (AP) seal
- Tulip Color, Brush-On Fabric Paint Glacier White Matte (coats and drying guidance, price)
- National Park Service, Conserve O Gram 19/16 (materials to avoid with paper artwork)
- Library of Congress, Guidelines for Matting and Framing
- US Consumer Product Safety Commission, Safety Alerts (plastic film on children’s products)
- Retail price ranges: Target and Staples product pages, 2026; library printing prices from the University of Texas Libraries and Seattle Public Library.
Project credit: this project idea comes from the DIY channel Bloom With Sachi.