DIY Fabric Wall Decor and How to Make Beautiful 24 Step Art
This DIY fabric wall decor project turns scraps of black, white, red and maroon fabric into a bold two-colour portrait, a woman in a wide-brimmed hat with red lips. It uses fused applique: shapes are backed with fusible interfacing, cut out, ironed onto a white base and then stitched around the edges. If you already sew, the cost is mostly interfacing, transfer paper and a little glue, roughly $11 to $23; buying every consumable and tool except the machine and iron runs about $37 to $91.
The project is a sewing-machine project, but a gentle one. There is no pattern drafting and no tricky seams, only careful cutting, ironing and a lot of slow stitching. Below you get the materials with price ranges, 24 steps with a photo for each, the snags that catch most people, and the flame, iron and glue safety that matters here.
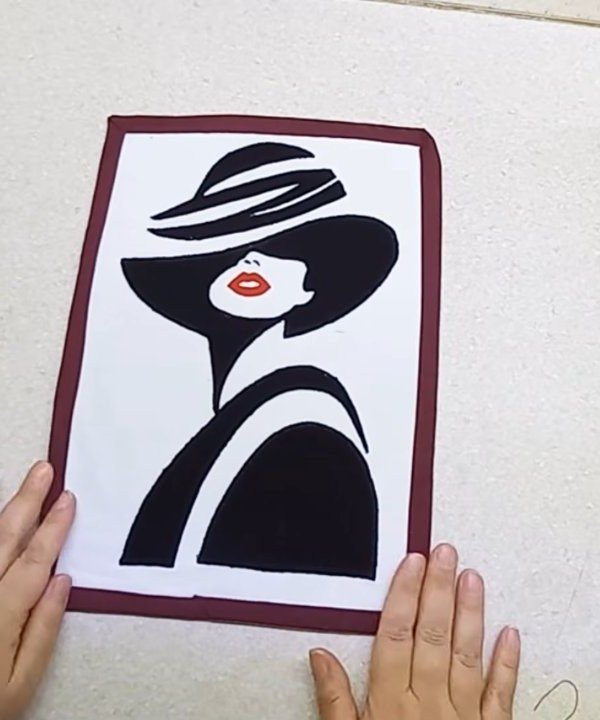
Table of Contents
Quick Facts About This DIY Fabric Wall Decor
| What | Answer |
|---|---|
| What you make | One applique wall hanging on a 25 x 35 cm (10 x 14 in) white base, with black shapes, red lips and a maroon border |
| Cost | About $11 to $23 if you have fabric scraps and basic sewing tools; about $37 to $91 if you buy fabric, interfacing, transfer paper, scissors, tweezers, clips, thread, glue and a lighter. A sewing machine, if you do not own one, is extra (entry-level machines commonly run about $85 to $210). |
| Active time | Several sittings (our estimate; the original project gives no clock times, and the cutting, ironing and stitching are all slow, careful work) |
| Waiting time | Short: only the glue under the lips needs to set before the hand stitching |
| Difficulty | Intermediate: you need to be comfortable with a sewing machine, an iron and small scissors |
| Renter-safe | Yes, it is a light textile; hang it on a small nail or a removable hook |
| Best for | A hallway, bedroom, sewing corner or office wall, ideally away from direct sun |
One honest note: the original project does not give iron temperatures, stitch settings, thread type, the size of the black, red and maroon fabric pieces, or a way to hang the finished piece, and it does not supply the line drawing. Where this guide fills those gaps, it says so.
Materials and Tools for DIY Fabric Wall Decor
Everything for this DIY fabric wall decor is ordinary sewing supply. Prices are typical US ranges at large retailers in 2026 and vary by store, brand and pack size. Fabric scraps are free if you already sew, which is the whole point of this project.
| Item | Amount | Price range | Budget swap |
|---|---|---|---|
| White linen-cotton (or plain cotton) base fabric | 25 x 35 cm (10 x 14 in) | Scraps free; or about $1.79 to $4.99 per fat quarter | A scrap or an old pillowcase, washed and pressed |
| Black linen-cotton fabric | One piece big enough for all the shapes (size not given; about the size of your base is a safe start) | Scraps free; or about $1.79 to $4.99 per fat quarter | Any dense black cotton scrap |
| Red fabric scrap | A small piece, a few inches square | Scraps free; or about $1.79 to $4.99 per fat quarter | Any red cotton offcut |
| Maroon fabric for the border | A strip 4 cm (1.5 in) wide; at least 130 cm (about 51 in) in total for a 25 x 35 cm piece (our estimate from the perimeter) | Scraps free; or about $1.79 to $4.99 per fat quarter | Cut strips from one scrap or join several |
| Fusible interfacing | Enough to back the base, the black fabric and the red scrap | About $2 to $6 per yard (you need well under half a yard) | Buy one pack and cut it to size |
| Printed line drawing, same size as the base | 1 sheet | Free to a few dollars to print | Draw your own bold outline |
| Dressmaker’s transfer paper | 1 sheet | About $4 to $9 per pack | Any transfer sheet that works on fabric |
| Ballpoint pen and an orange marking pencil | 1 each | Free if you have them | A fabric marker instead of the pencil |
| Paper scissors and small fabric scissors | 1 pair each | About $9 to $19 per pair | Use one pair of sharp fabric scissors for both fabrics |
| Tweezers | 1 pair | About $3 to $8 | Fine-tip craft tweezers |
| Iron and ironing surface | 1 | Owned | A pressing cloth to protect the iron plate |
| Sewing machine, black and maroon thread | 1 machine, 2 spools | About $1 to $7 per spool | A used or borrowed machine works fine; new entry-level machines commonly run about $85 to $210 |
| Sewing clips or pins | A few | About $3 to $8 per 100 | Quilting pins work if you do not have clips |
| Hand-sewing needle | 1 | A few dollars | Any fine sharp needle |
| Small tube of fabric glue | 1 | About $5 to $8 per 4 oz bottle | Any strong clear fabric adhesive |
| Butane lighter | 1 | About $4 to $6 | Optional: see step 8 for a way to skip the flame |
How to Make This DIY Fabric Wall Decor, Step by Step
Step 1: Cut the base fabric and the interfacing to size
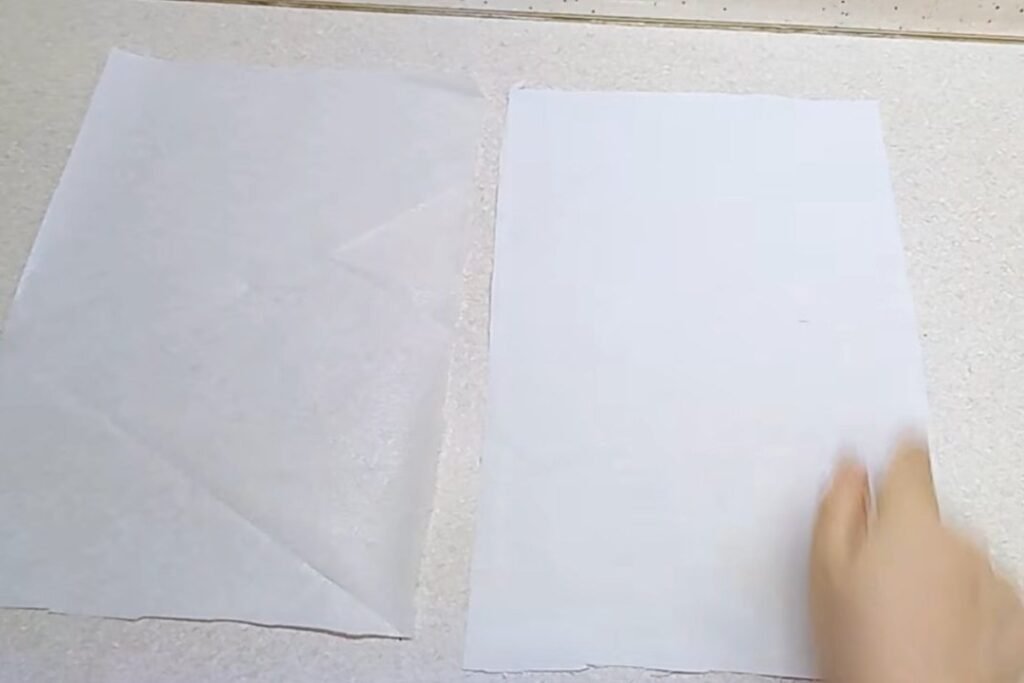
Cut a piece of white linen-cotton and a piece of fusible interfacing, both 25 x 35 cm (10 x 14 in). The maker lays the two side by side, then smooths the interfacing against the fabric. Your finished piece will be a little larger once the border is added, which is why the base is cut this small.
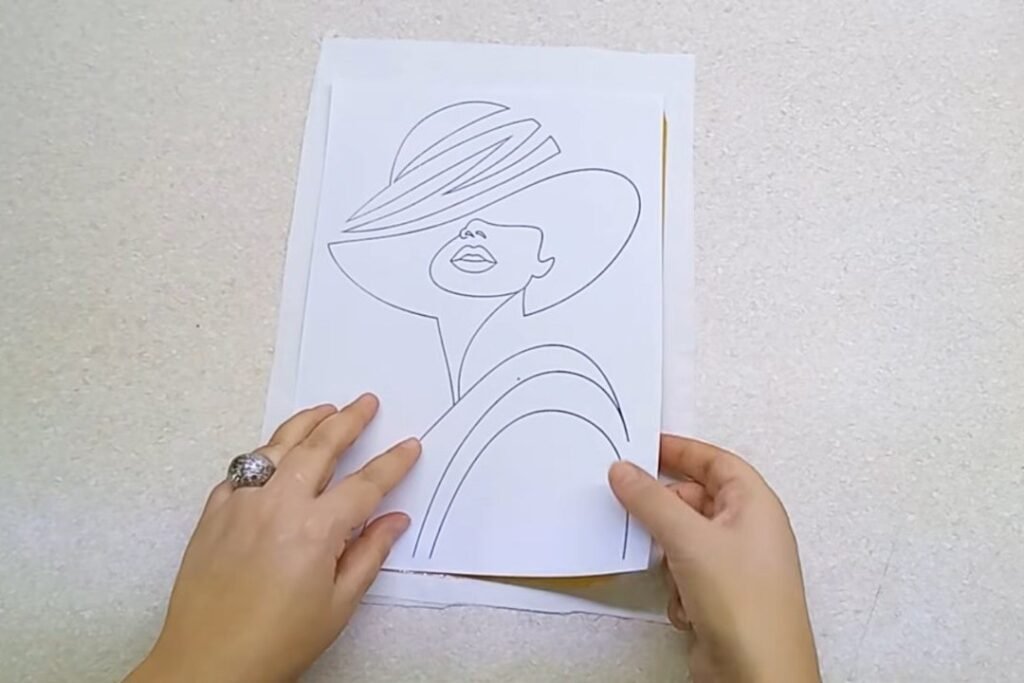
Step 2: Set the outline over a transfer sheet on the fabric
The maker holds a printed line drawing of a woman in a wide-brimmed hat over the white base, and a yellow sheet appears between the drawing and the fabric. It looks like transfer paper, though the project does not name it. The drawing is not supplied with the project, so use your own bold outline at the same 25 x 35 cm size, or one you have the right to use. For DIY fabric wall decor like this, simple big shapes work far better than fine detail.
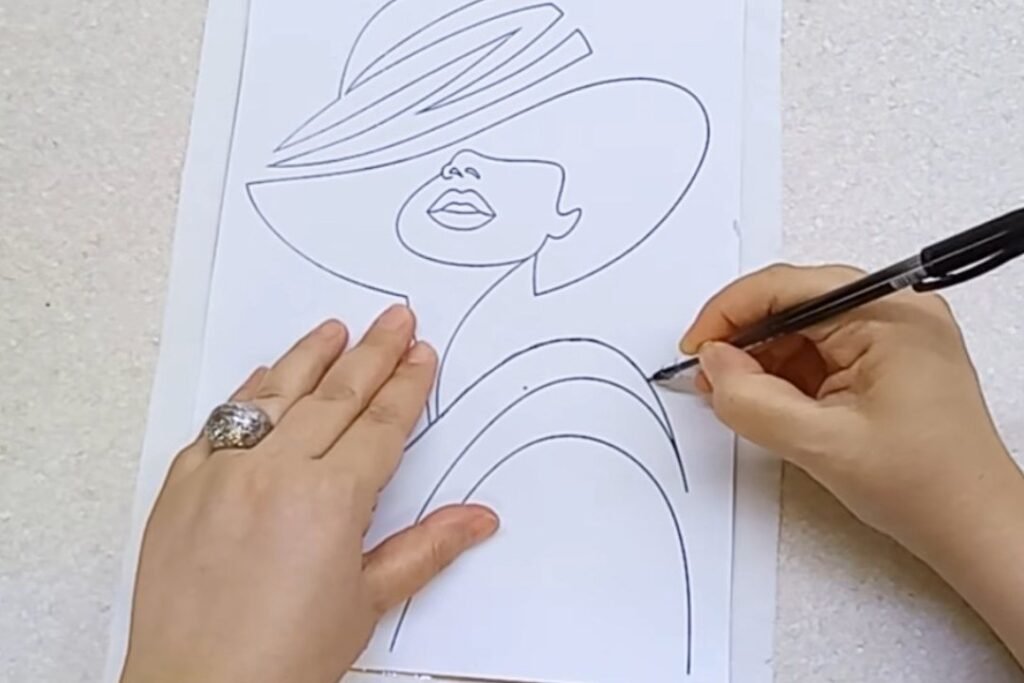
Step 3: Trace every line with a pen
Go over every line of the drawing with a ballpoint pen while the other hand keeps the paper still. The pressure moves the line onto the fabric underneath. The faint grey lines show up again on the white cotton later in the project, which is how you know the transfer worked.
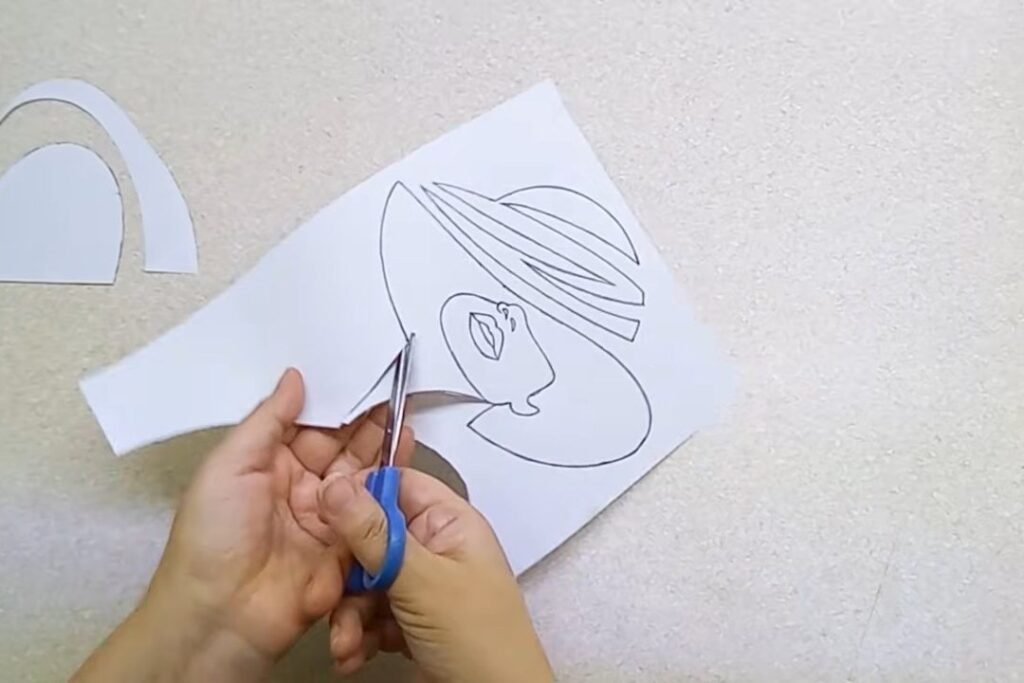
Step 4: Cut the paper outline into pieces
Cut the printed outline apart along its lines so every black area becomes its own paper piece: the hat brim with the face opening, the hat stripes and the shoulder arcs. These paper pieces are your patterns for the black fabric. Keep them in a pile in layout order so you do not mix them up later.
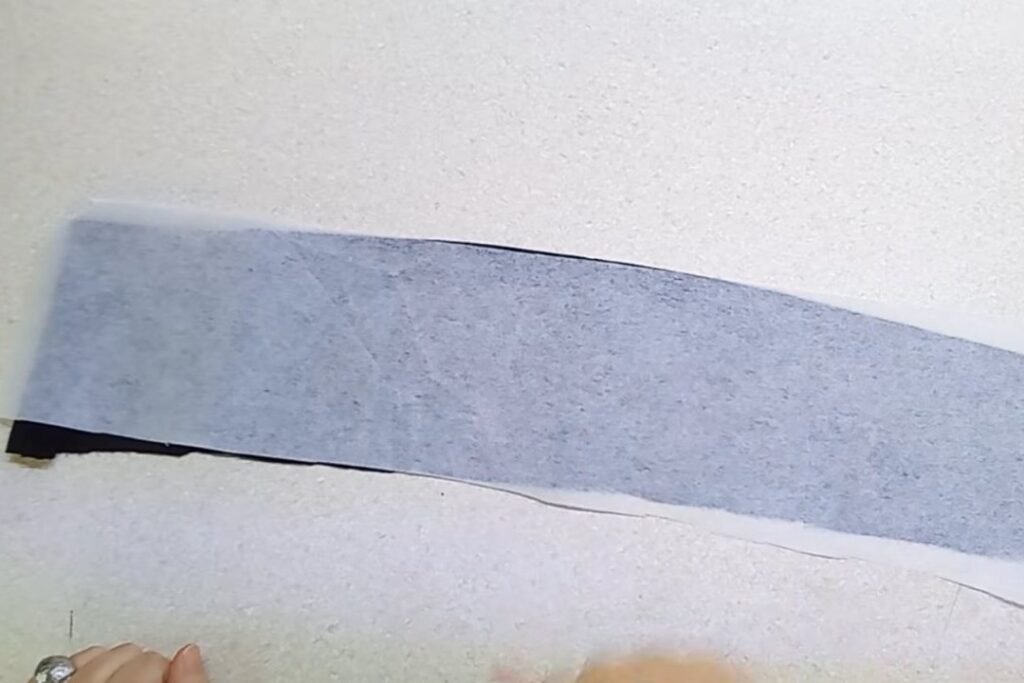
Step 5: Back the black fabric with interfacing
Lay fusible interfacing on the back of the black linen-cotton and fuse it with the iron, the same way the maker fuses a square onto the red scrap later on. The interfacing steadies the fabric so it cuts cleanly and frays less, and its heat-activated adhesive holds each shape to the white base once ironed. Sewing sources note that a paper-backed fusible web is the product made for iron-only bonding, so stitch every edge either way (see step 12). Follow your pack for heat and time, as the project does not give them.
Step 6: Trace the paper pieces onto the interfacing
Place each paper piece on the interfaced back of the black fabric and trace around it with a pen. Anything you trace onto the back of fabric comes out as a mirror image once you turn it over, so if the direction of your picture matters, flip the paper pieces face down before tracing.
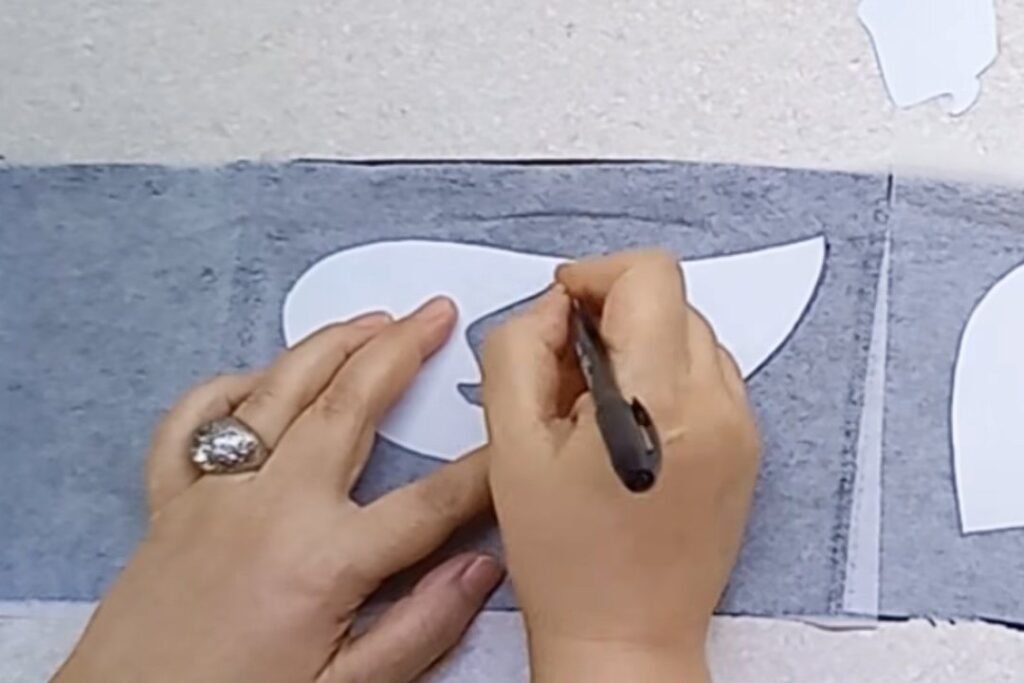
Step 7: Cut out the black shapes
Cut out each shape on the traced line with sharp scissors. The maker cuts the large curved pieces first, then the thin hat stripes. Thin stripes are fiddly, so cut slowly and keep the scissors tips together.
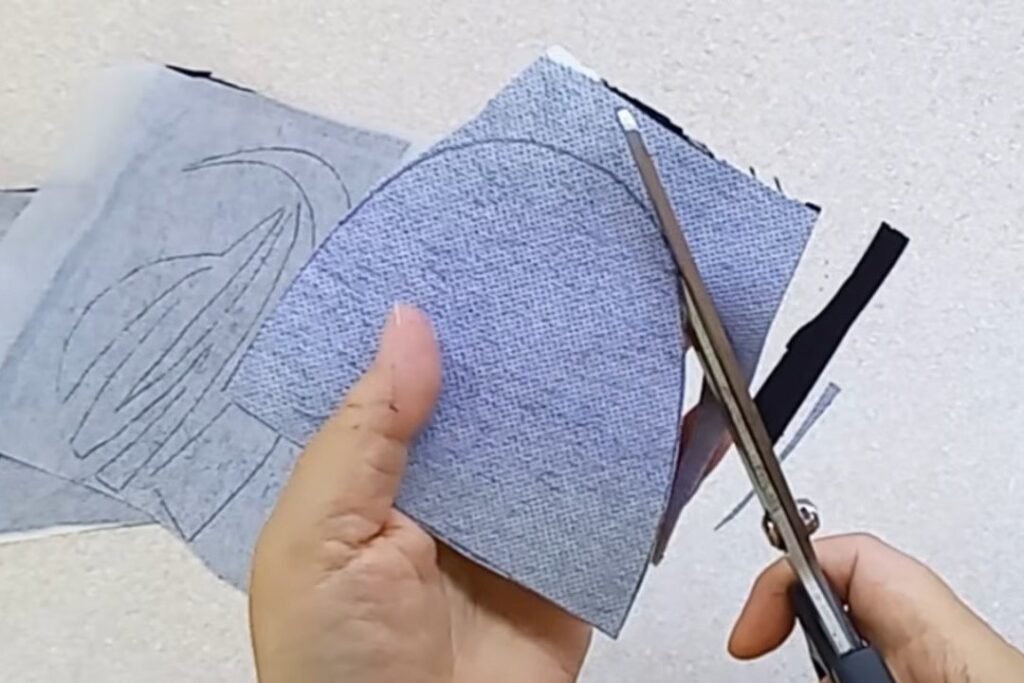
Step 8: Run a flame along the cut edges
The maker passes a lighter flame quickly along each cut edge, turning the piece as she goes. The project does not say why; the usual reason is to burn off loose threads and firm up the edge. Linen and cotton are natural fibres that burn, so this step needs real care: work over a bare, heat-proof surface, keep water or a damp cloth within reach, and read the safety section below before you try it. If you would rather not use a flame, you can skip this step, as the edge stitching in step 12 also holds the edges down (our suggestion, not part of the project).
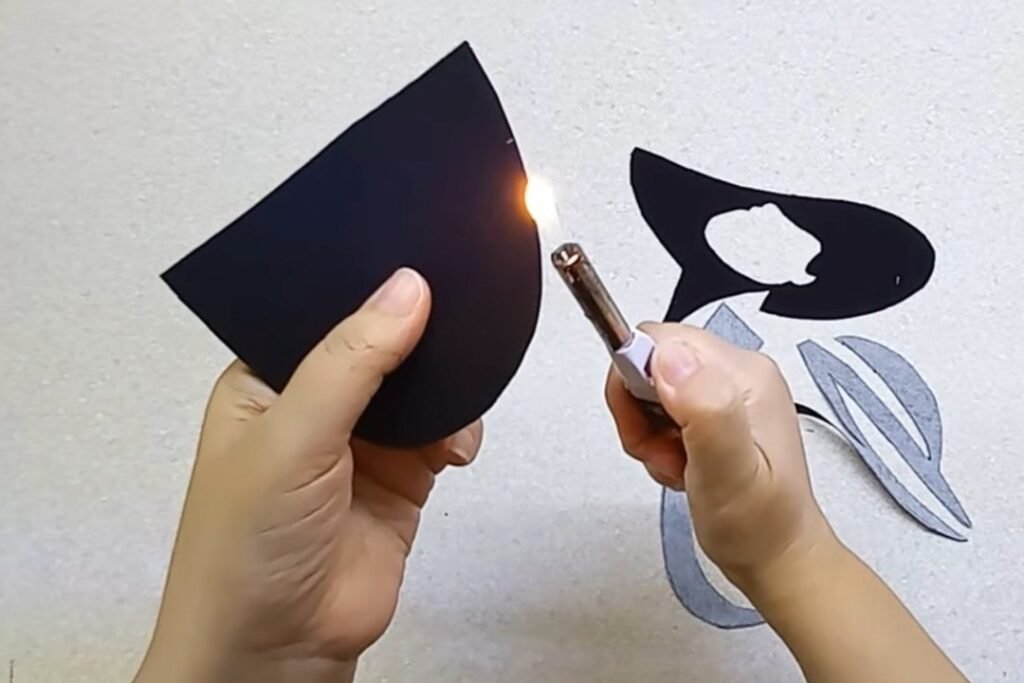
Step 9: Lay the shapes out on the white base
Place the shapes on the white base, starting with the large body shape and building up through the shoulder arcs, the hat brim and the stripes. Leave the white gaps between shapes open, because those gaps form the lines of the picture. The face stays as a white opening, and the lips come later.
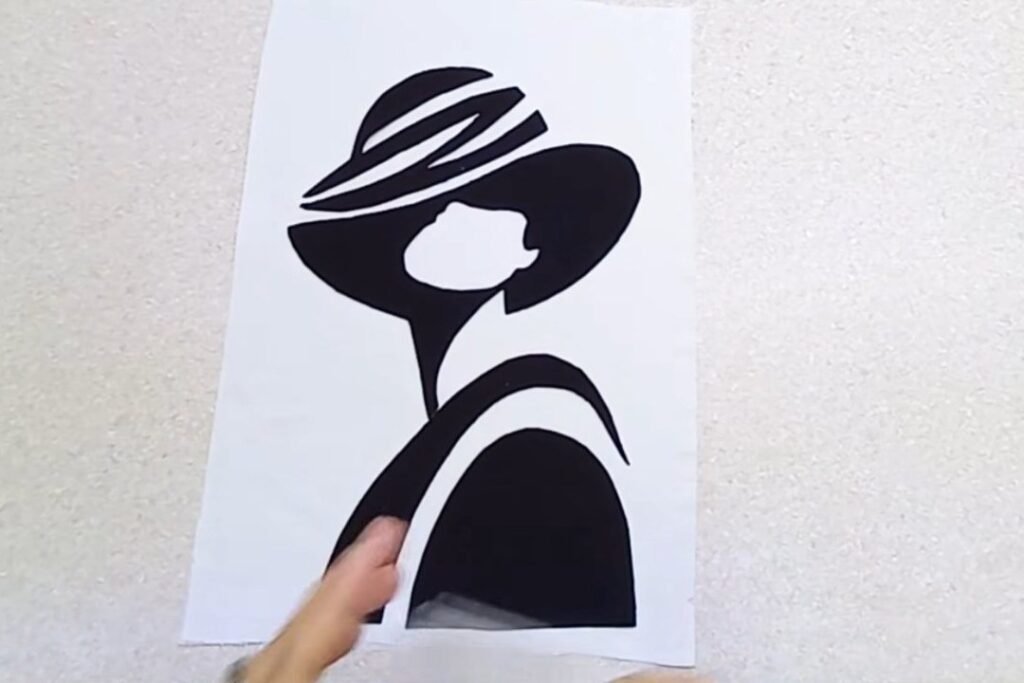
Step 10: Iron the body shapes in place
Press the shapes onto the base with the iron, working in stages. The maker works in stages, lifting some pieces aside while others are pressed, then setting them back, and uses tweezers to nudge small pieces into place. Iron heat and time are not shown; follow the interfacing pack and test on a scrap first.
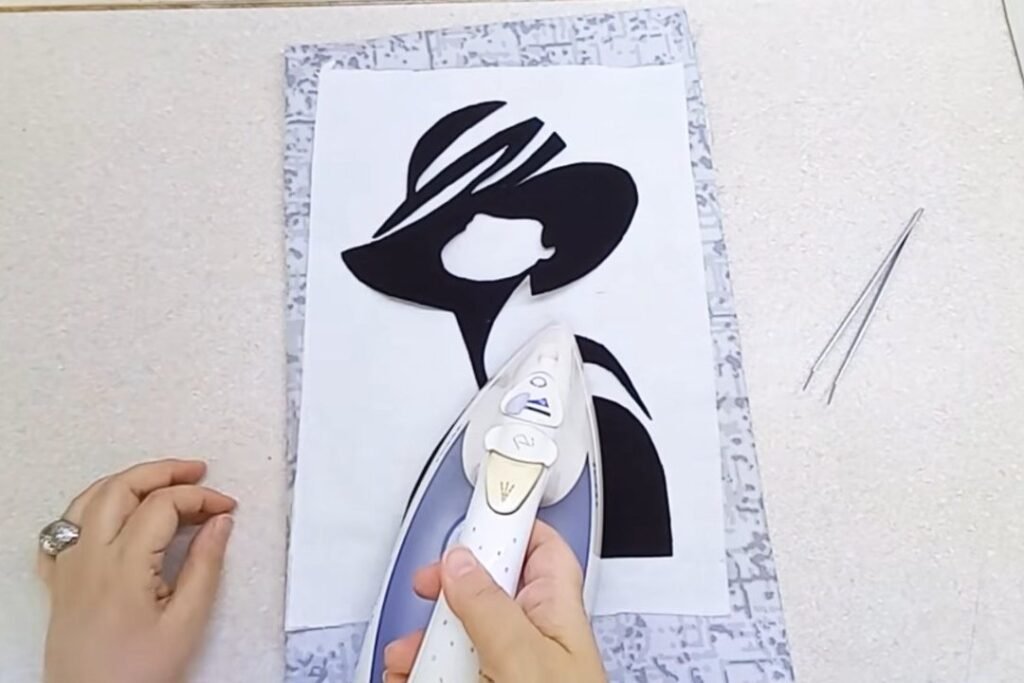
Step 11: Add the hat stripes
Set the thin hat stripes in place last and press them down. Because these are the narrowest shapes, they are the easiest to nudge off line, so use tweezers rather than your fingertips near the hot iron.
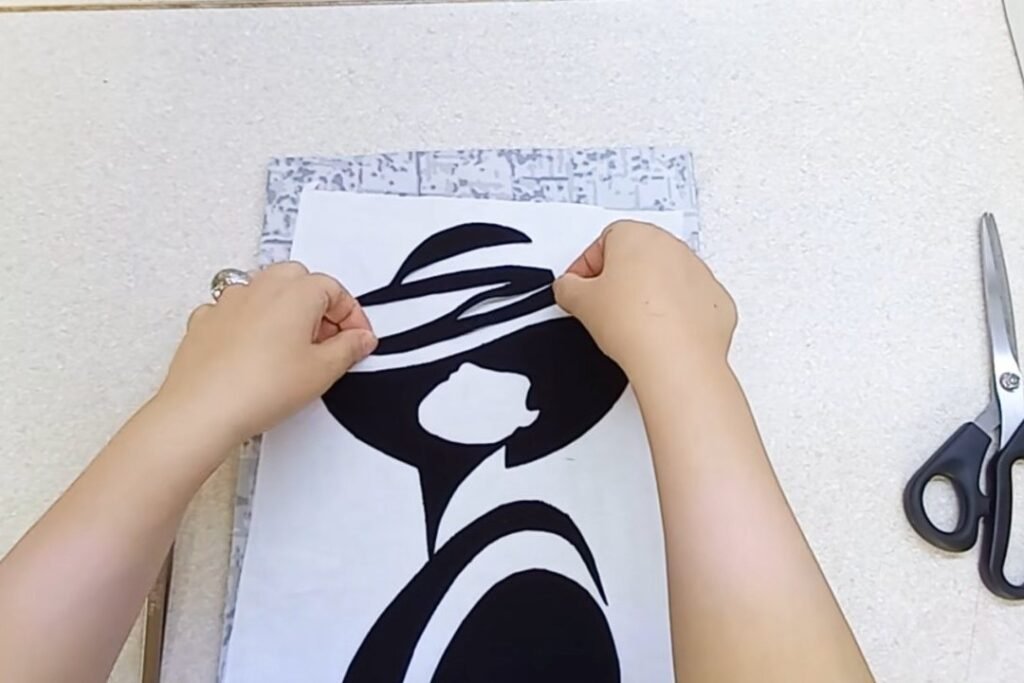
Step 12: Stitch close to the edge of each shape
Sew a line of stitching close to the edge of every black shape in your DIY fabric wall decor with the sewing machine, so the fused edges cannot lift. The maker uses black thread and guides the work with both hands flat on the fabric. Stitch length and tension are not shown, so test on a spare scrap first.
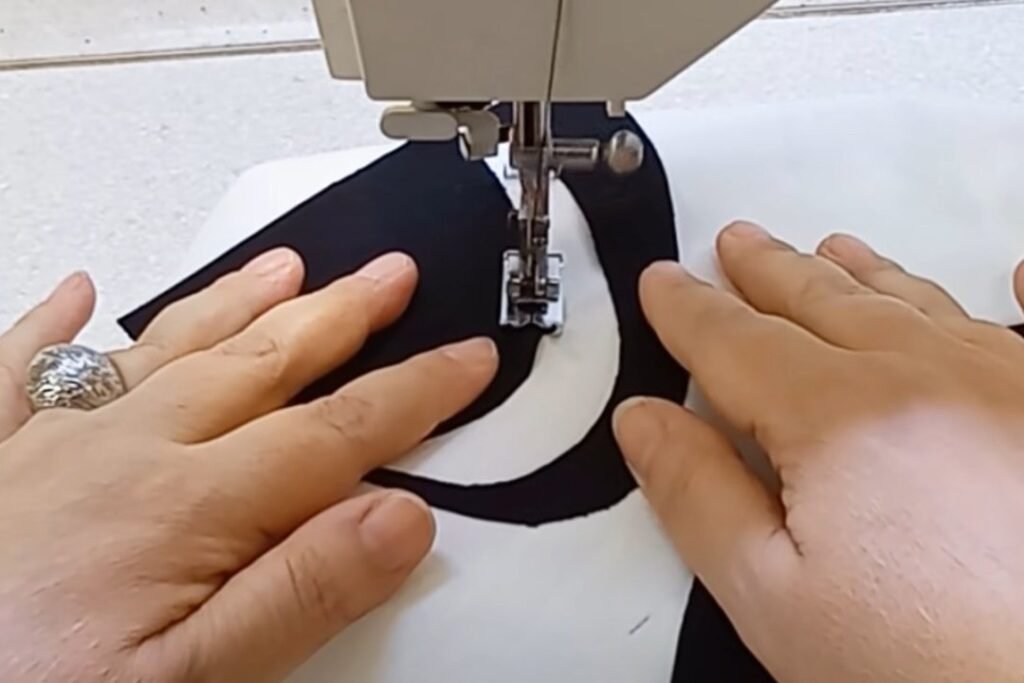
Step 13: Follow the curves
Keep going around each shape, including the long arcs of the shoulders and the hat brim. This is the slowest part of the whole DIY fabric wall decor project, and the part that makes your DIY fabric wall decor look finished rather than glued.
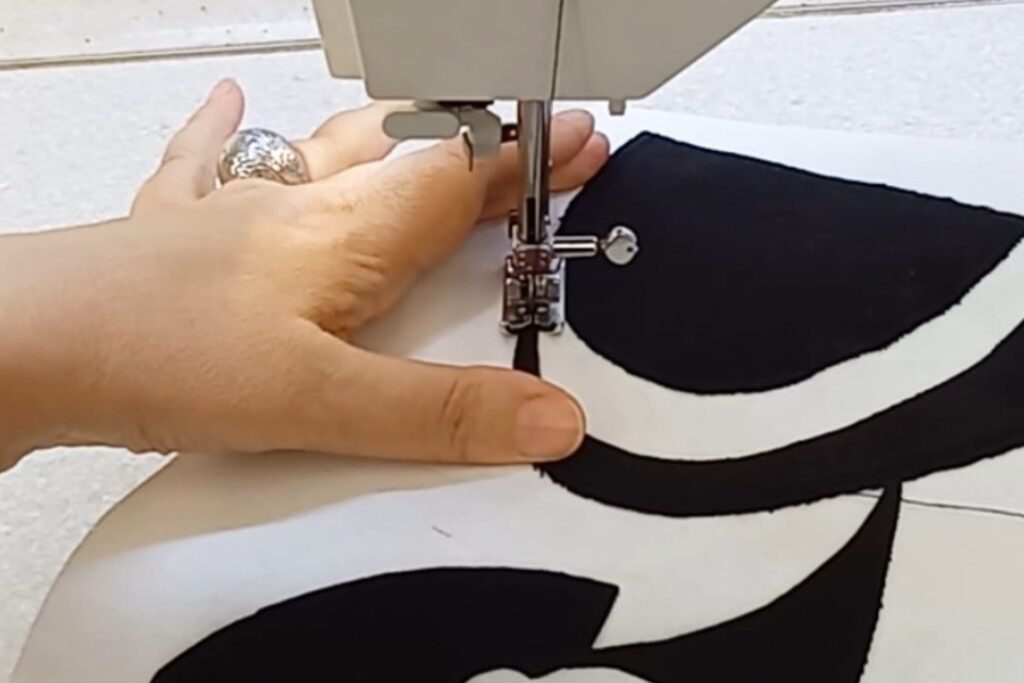
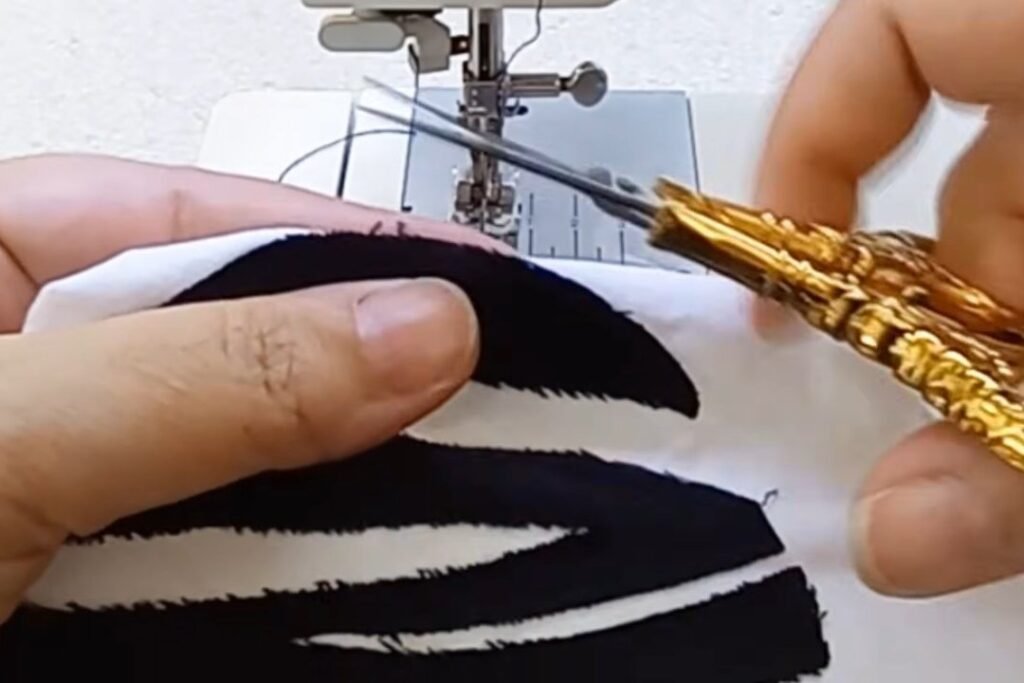
Step 14: Trim threads and loose edges
Use small, sharp scissors to trim thread tails and any loose bits at the edge of the shapes. The maker works close to the stitching on the hat stripes, where frayed fibres show most.
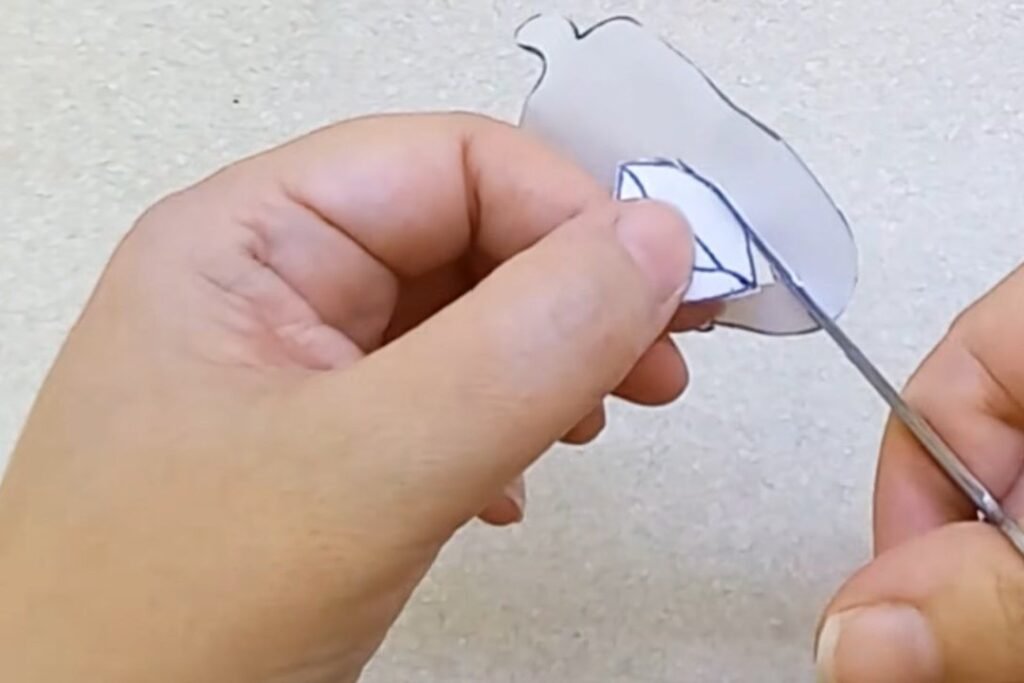
Step 15: Cut a paper face piece for the lips
From the paper outline, cut out the small face section that holds the lips. This becomes the pattern for both the position and the shape of the red lips.
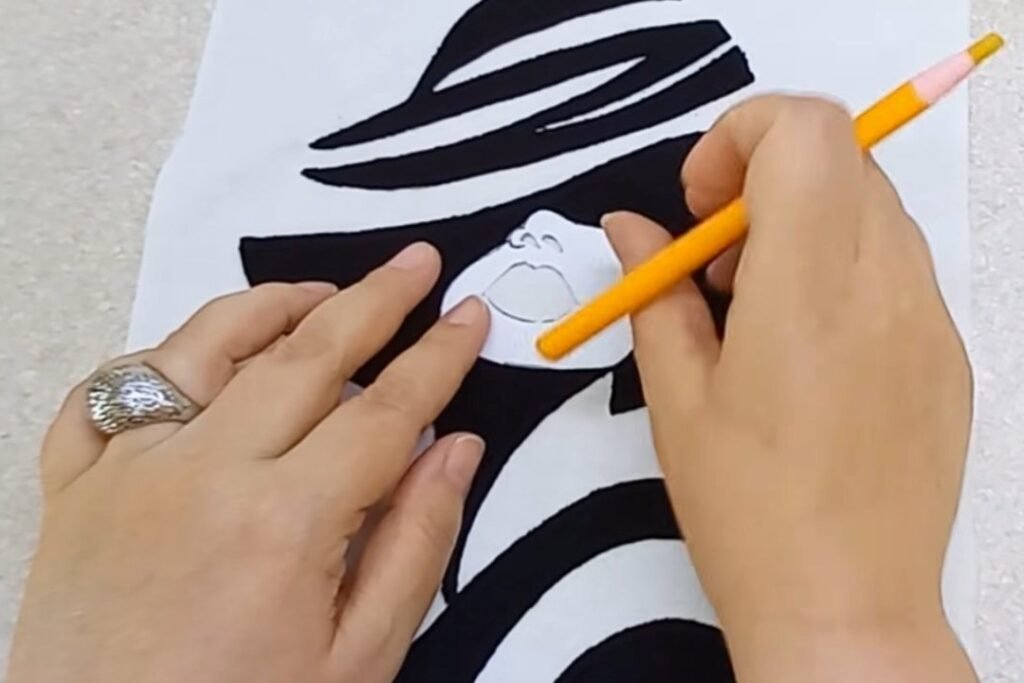
Step 16: Mark the lip area on the work
Hold the paper face piece over the white face opening and mark the lip position with an orange pencil. Check your marking against the picture, as lips that sit slightly low or high change the whole expression.
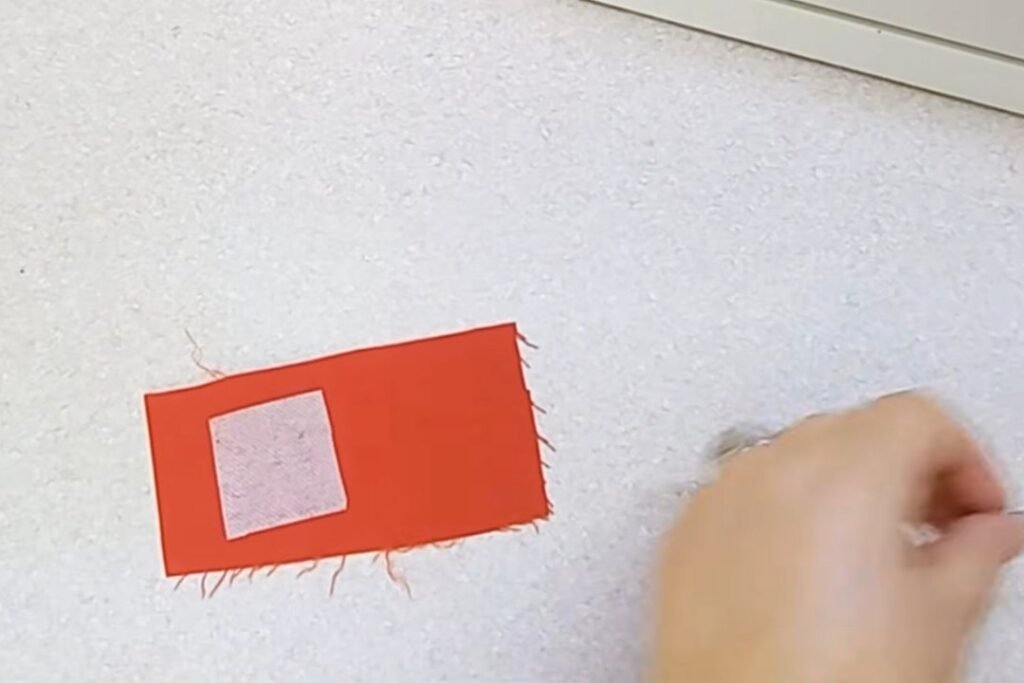
Step 17: Back a red scrap with interfacing
Fuse a small square of interfacing onto a scrap of red fabric. The on-screen note in the project says to iron the fusible interfacing onto the cotton fabric, and the maker then traces the lip shape onto the interfacing side.
Step 18: Cut out the red lips
Cut the lips out with small scissors. They are tiny, so hold the piece close to the blades and turn it as you cut. Several attempts are normal; the red scrap gives you room for them.
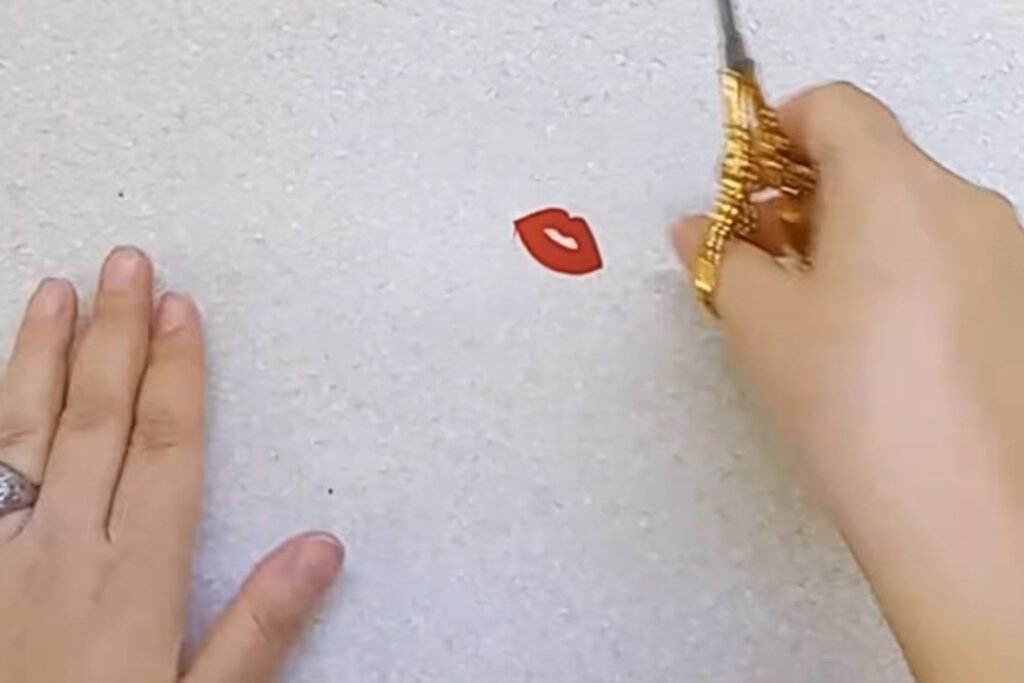
Step 19: Glue the lips in place
Put a little fabric glue on the back of the lips and press them onto the face opening, then hold for a moment. The glue only holds the lips in place until they are stitched, so it does not need to be thick.
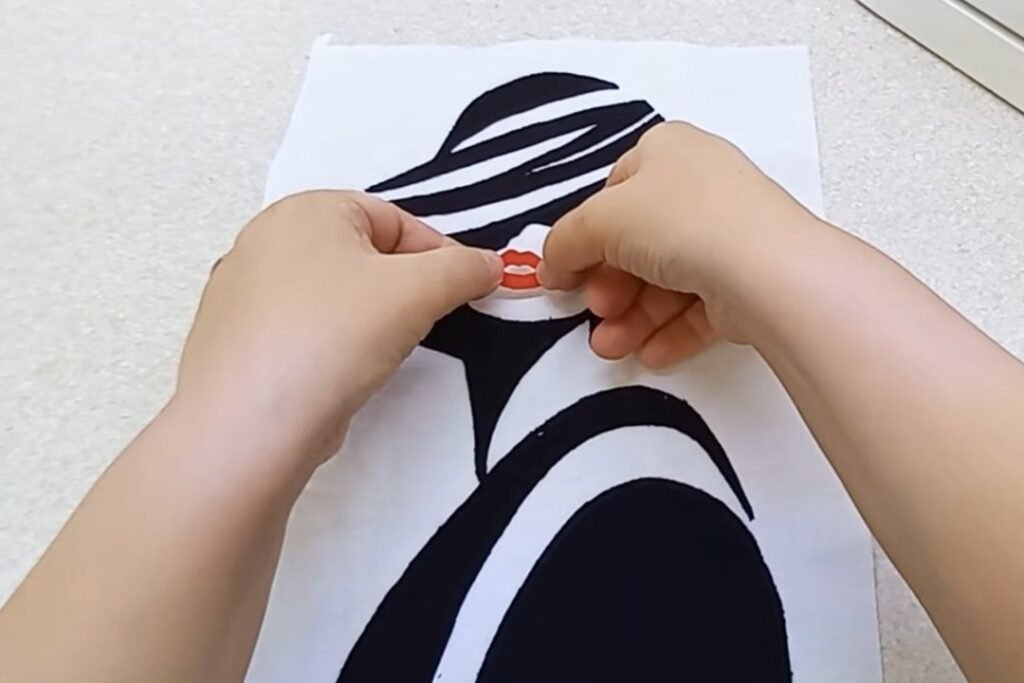
Step 20: Stitch around the lips by hand
Stitch around the lips with a hand needle. The work is small and curved, so the maker does it by hand rather than with the machine.
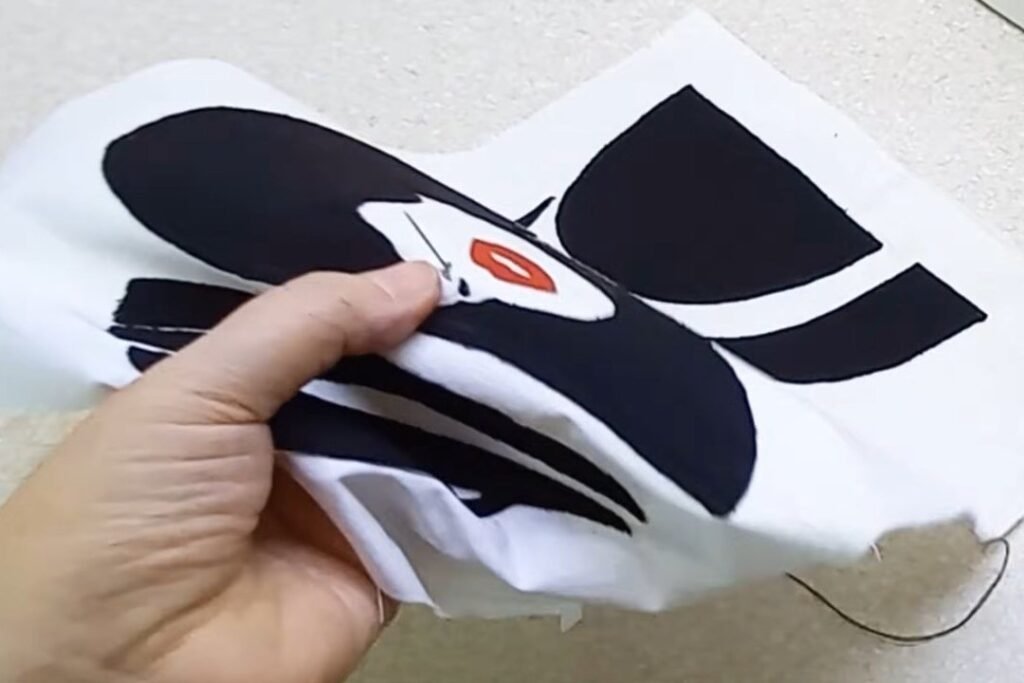
Step 21: Check the back of the work
Turn the piece over and check the stitching. The back should show a clean line of stitches following each shape. Skipped stitches show up as gaps in the line, and they are easy to fix at this stage.
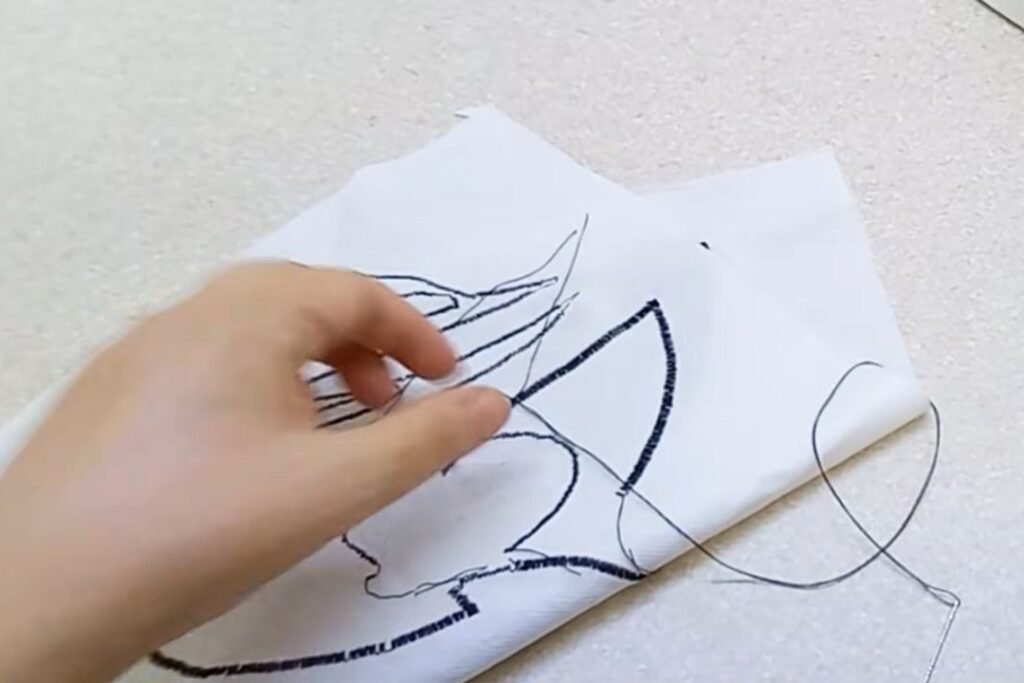
Step 22: Sew on the maroon border strip
Sew a maroon strip, 4 cm (1.5 in) wide, along the edges of the panel, one side at a time. In the finished piece only a slim maroon frame shows, so most of the strip must be folded behind the panel (our reading of the finished photo). The project does not give the strip length, so measure the perimeter of your piece and add extra for corners.
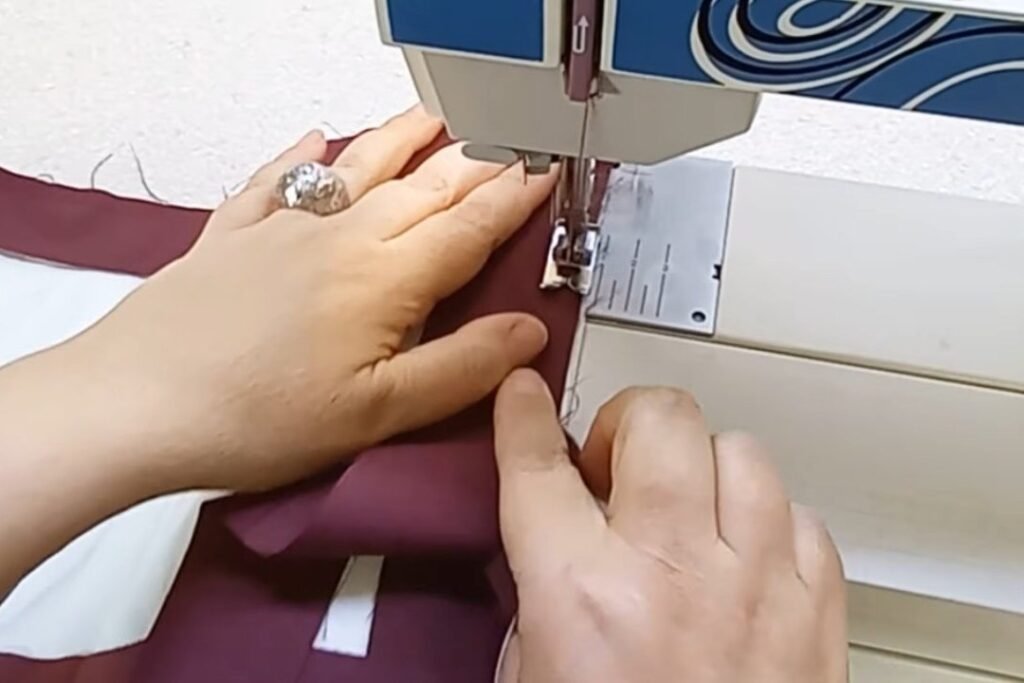
Step 23: Fold the corners into mitres
At each corner, fold the strip into a neat diagonal and trim the extra fabric. Square corners with no bulk are what make a border look professional.
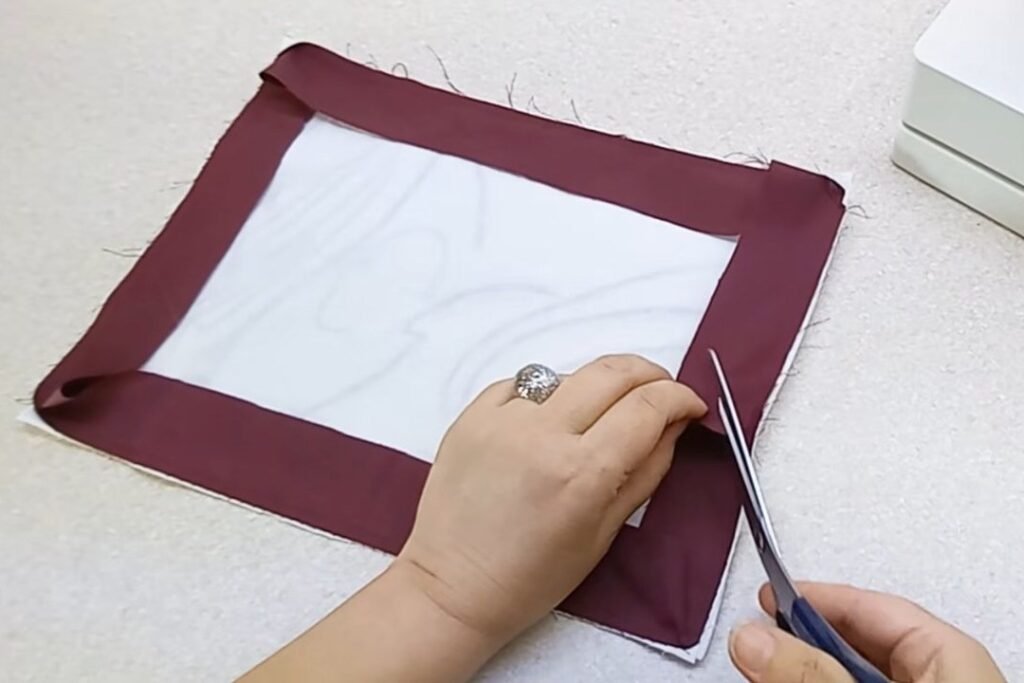
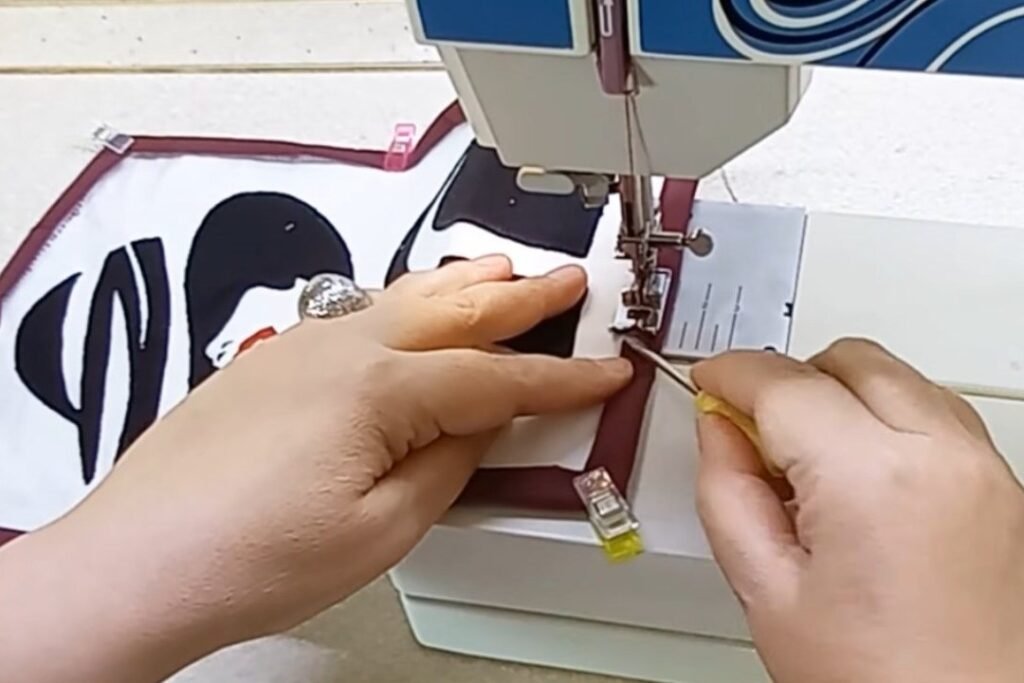
Step 24: Clip the border and stitch it down
Fold the strip over, hold it with sewing clips and stitch the border down along its edge. Take the clips out just before the needle reaches them. When the last side is stitched, the piece is ready to hang.
Where DIY Fabric Wall Decor Usually Goes Wrong
Most trouble with DIY fabric wall decor of this kind comes from heat, edges and tiny shapes, not from the idea itself.
- Shapes that lift at the edges. Fusible interfacing needs the right heat and time; press and hold, do not slide, and stitch around every shape as in steps 12 and 13, because even fused edges should be sewn down.
- Frayed, fuzzy edges. Back every piece with interfacing before cutting, trim stray threads and keep the stitching close to the edge.
- Scorched or burned fabric. A lighter flame on linen or cotton can catch; pass it quickly, test on a scrap and keep water at hand, or skip step 8.
- A mirrored picture. Tracing onto the back of fabric flips the design; flip your paper pieces face down first if direction matters.
- Lips that look off. Mark the position before you glue, and leave the red piece slightly small rather than too large.
Make Your Own DIY Fabric Wall Decor
The method works with any bold two-tone picture, so this DIY fabric wall decor is easy to adapt. These ideas are our suggestions, beyond what the original project shows.
- The picture. Use a plant, a cat, a leaf or a simple skyline instead of a portrait. Thick shapes with clear gaps between them are easiest to cut and stitch.
- The colours. Swap black on white for navy on cream, or add one accent colour, as the red lips do here. For other ways to layer pattern and colour on a wall, see boho wall decor.
- The finish. The project does not show how to hang the piece. A small picture frame, a stitched sleeve with a thin rod or a few clip hangers all work (our suggestions). For more low-cost wall projects, see DIY doily wall decor and economy home decor.
Safety: Flame, Iron, Machine and Glue
This DIY fabric wall decor project combines an open flame, a hot iron and a sewing needle, so a few safety points matter more than usual.
- Flame and fabric. Cotton and linen can still catch fire, and synthetic scraps or synthetic thread melt and stick to skin, so a fire-safety alert from the City of Grapevine, Texas notes that natural fibers tend to burn more slowly than synthetic ones while synthetics melt and burn once ignited. Work over a bare heat-proof surface, test on a scrap first, keep a damp cloth or water within reach and clear loose scraps off the table before you light anything. Treat the flame step as optional.
- The lighter. The US Consumer Product Safety Commission’s child-resistant lighter rule exists because small children playing with lighters start thousands of house fires a year. Child-resistant is not childproof: use the lighter as an adult, keep it out of children’s reach and put it away as soon as you finish.
- The iron. Interfacing brands give different heat and time instructions, and no source here gives a degree figure. Pellon’s lightweight fusible, for example, calls for a Low-Permanent Press setting, a damp press cloth and about 10 seconds of firm pressing per spot, with a test on a swatch first; other products call for different settings, so follow your own pack. NMSU Extension also says a press cloth stops fabric getting a shine.
- The sewing machine. Keep your fingers clear of the needle, switch the machine off when you thread or change the needle, and do not pull the fabric while it is being stitched, because that can bend or break the needle. Read the safety page in your machine’s manual for model-specific rules.
- The glue. One manufacturer’s permanent fabric glue says to let the glue set for a few minutes, press, and leave it to dry for 24 hours. Work in a ventilated room and read the label on your own bottle for fume and skin-contact advice.
- Sunlight. The Canadian Conservation Institute notes that light fades textile dyes and weakens fibres, and that the damage adds up over time, so hang the finished piece away from direct sun.
DIY Fabric Wall Decor FAQ
How much does DIY fabric wall decor like this cost?
If you already sew and have scraps, the consumables come to roughly $11 to $23 (interfacing, transfer paper and fabric glue). Buying fabric, scissors, tweezers, clips, thread, a lighter and the rest brings it to about $37 to $91, and a sewing machine is extra if you do not own one. Prices are US ranges from large retailers in 2026 and vary with sales.
Do I need a sewing machine for DIY fabric wall decor?
The original project uses one for the long edges of the shapes and the border, and hand stitching for the tiny red lips. A very small piece could be stitched entirely by hand, but it would take much longer (our note, not part of the project).
How long does this DIY fabric wall decor project take?
The project gives no total time for this DIY fabric wall decor, and the edited video runs about 15 minutes. Plan on several sittings for the tracing, cutting, ironing, stitching and border, and treat any single number as a guess.
Can I skip the lighter step?
The project uses the flame on the cut edges, but it does not explain the reason, and nothing in it says the piece fails without it. Every shape is also stitched around, so you can leave the flame out and trim stray threads with small scissors instead (our suggestion, not part of the project). If you do use a flame, test on a scrap and follow the safety notes above.
How do I hang and care for a fabric wall hanging?
The project does not show how the piece is hung. A small frame, a stitched sleeve with a thin rod or a couple of clip hangers all suit a light textile (our suggestions). Give the fabric glue under the lips a full day to dry before hanging, as one manufacturer advises, and keep the piece out of direct sun, since light fades fabric dyes.
Sources
- New Mexico State University Extension, Sewing Machine Applique: why fused shapes still need edge stitching, and the press cloth tip
- Pellon, lightweight fusible interfacing instructions: iron setting, damp press cloth and press time
- Aleene’s, Permanent Fabric Glue: set and dry times
- Canadian Conservation Institute, Textiles and the Environment: light damage to textiles
- City of Grapevine, Texas, fire safety alert on clothing fibers: natural fibers versus synthetics
- US Consumer Product Safety Commission, child-resistant lighter rule
- Prices: typical US retail ranges seen on Hobby Lobby, Walmart and Target listings in October 2026; they vary by store and sale.
Project credit: this project idea comes from the DIY channel Scrap Creations.